Tuesday, February 21, 2012

Wool Diaper Covers

We've finally made the switch to cloth diapers. It's a different experience than disposable. I think I'm going to love it though! I didn't realize how little attention I payed to when she went potty! I would pretty much just change her at each feeding since with disposables she never fussed no matter how full her diaper was. But now she's started fussing when she's wet which is really helping since she's a heavy wetter. I just feel so much more in tune to her body. Hopefully dad warms up to this soon, he's not liking how quickly her diaper will soak through.

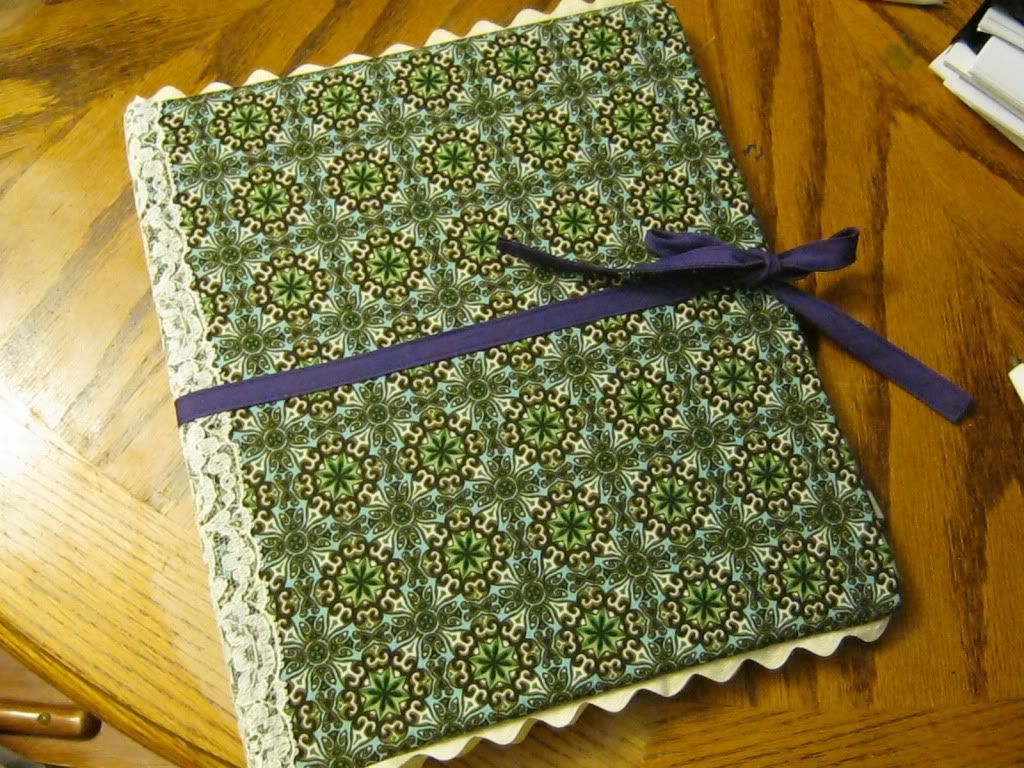
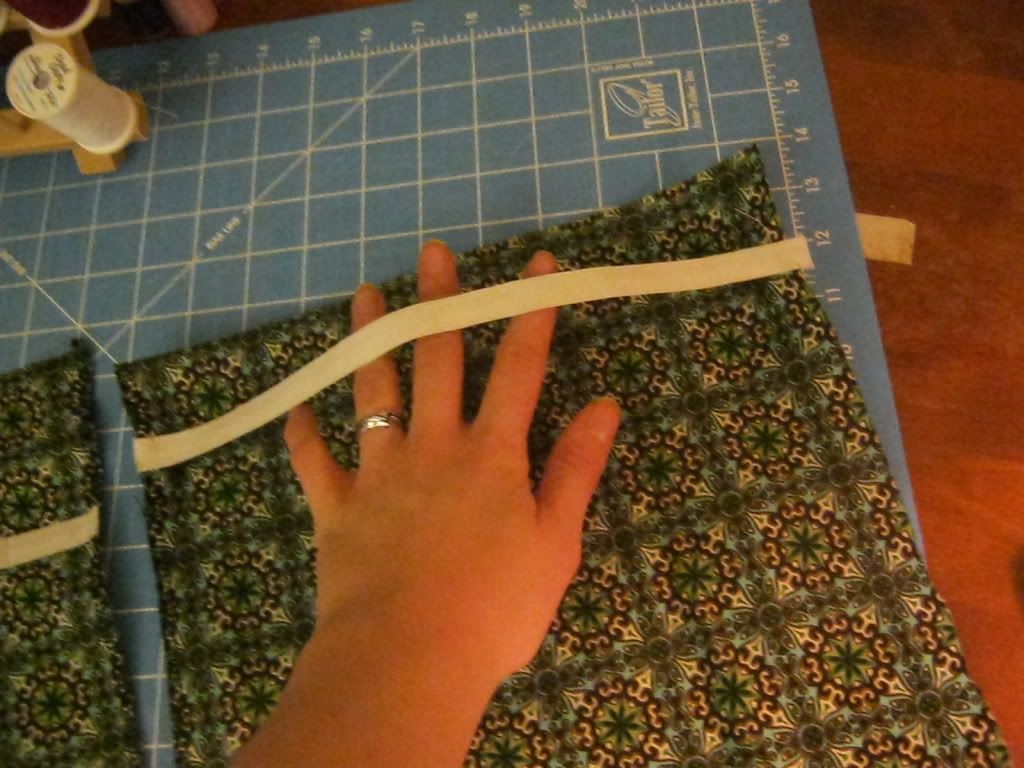
I've gotten 2 wool covers that fit done. Still have a couple more in her current size I want to do and then some more in bigger sizes. 

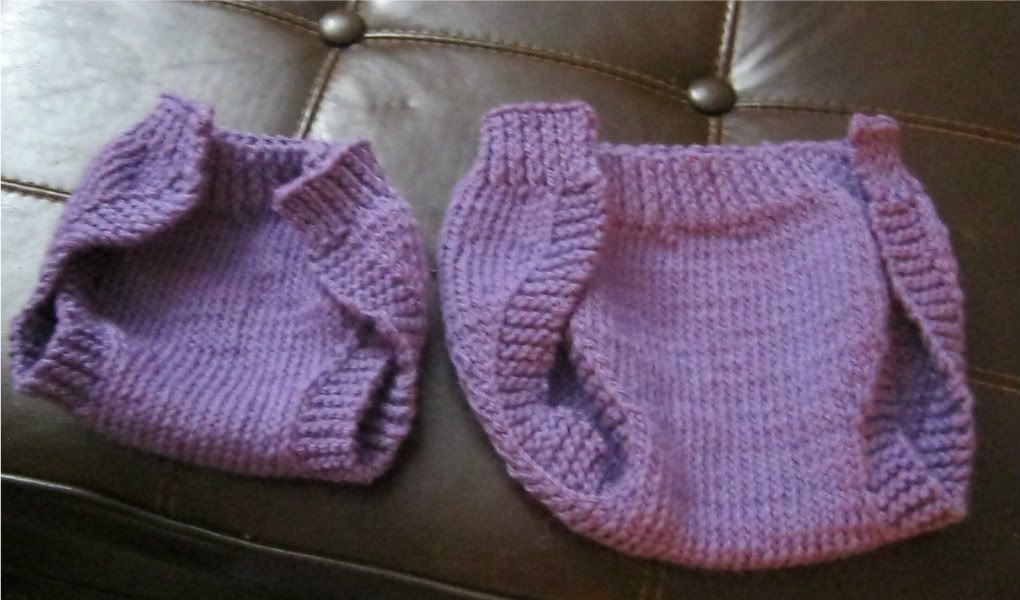
Pattern: Fancy Pants. Click here for the website. And here for it's Ravelry page.
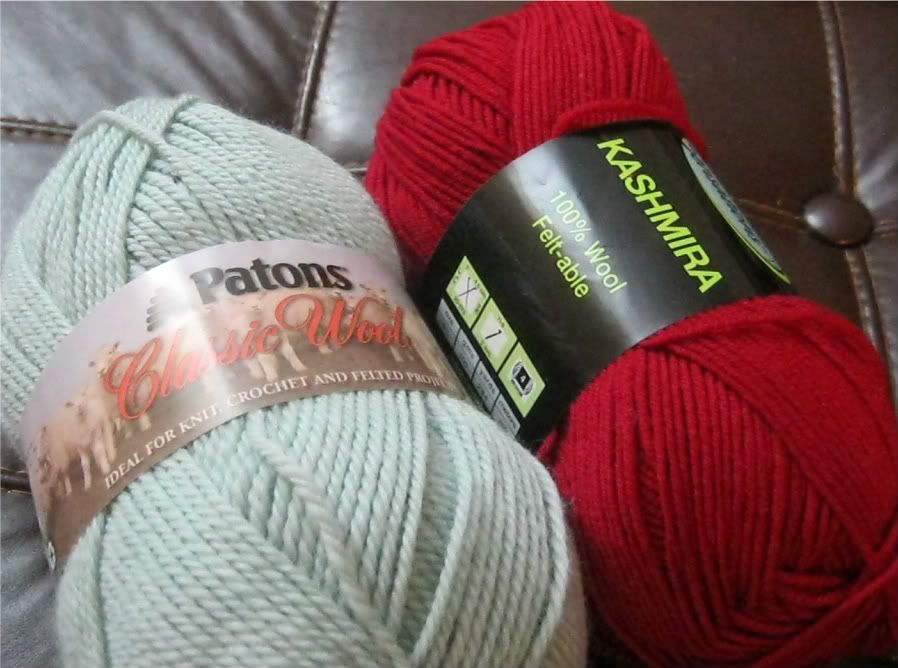
Yarn: Sensation Kashmira. I still have plenty for another cover. 
Because this pattern was meant to be a larger size I used a thinner yarn, smaller needles and made it a bit shorter than what the pattern calls for. This fits a bit high in the front but it's nice and trim and is just right around her legs. So far I really like this one. 

----------------------------------------------------------------------------

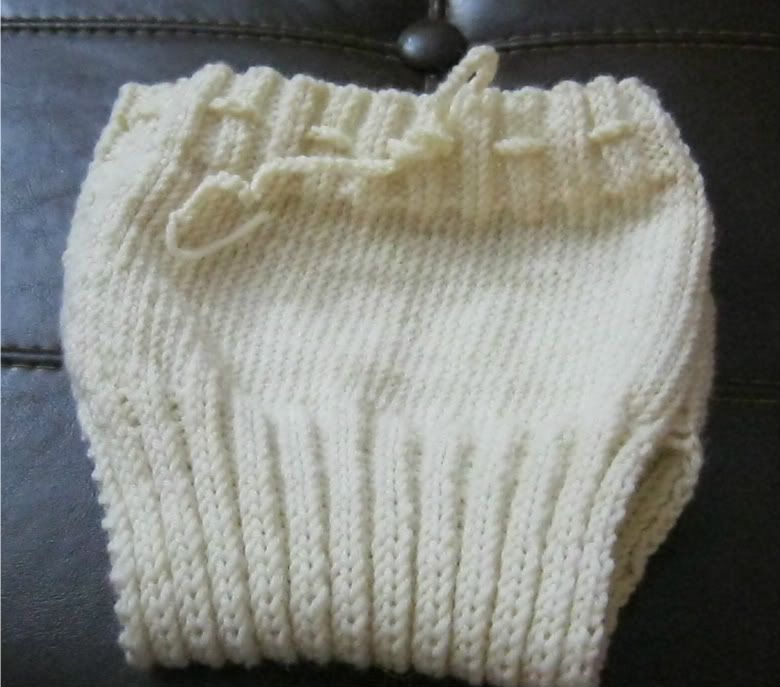
Pattern: WHW Plain Wrap. You can find it here on Ravelry where you can download the pattern for free.
Yarn: Patons Classic Wool. 1 ball make both that you see here.
This is the newborn and the small sizes. Idk if my gauge was off or my little girl is just that much of a skinny mini. But the newborn is more like a small and the small is more like a medium on my little girl. The pattern calls for velcro but I've been using pins and it works just fine. But I don't think I'm going to make any more of these. They are to loose around the legs and doesn't cover her diapers all the way and I've already had several items get wet because she soaked her diaper and the exposed fabric got other things wet. 

Here are the other 2 balls I have for the other covers I intend on making. I've got a couple more patterns I want to try out. And the favorites will be the ones I make bigger sizes with. 

Sunday, February 19, 2012

Binder Cover Tutorial

I love a cute binder! I mean who really wants to carry around one of those plain old plastic ones? I know I know I don't. I've dabbled with making covers before but this one takes the cake!


1.Gather Supplies:
  • 1/2 yard of fabric or 2 fat quarters would work as well. 
  • 4 feet of wide rick rack
  • 13 inches of  3" wide lace
  • About 4 feet of ribbon or double fold binding, width of your choice. I used 1/2 inch. 
  • Optional: 1/2 inch wide elastic. 1-3 feet. 

2. Lay out open binder on fabric. Cut around binder with just enough for a seam. This is the outer piece.


3. Lay out closed binder on fabric. Cut 2 with enough for a seam. These are the inner pieces.


4. Take the inner pieces. Hem the edges that will lay right along the rings. I just serged mine.


5. If you want a pen or a notepad holder take your elastic and place and sew down your elastic on your inner pieces. 


For pens

For a notepad. I used 2 pieces to help keep it in place

6. Take your outer piece, center and sew down the lace. 


7. Pin and sew down the rick rack to the upper and lower edges of your outer piece. Sew straight down the center. This will help later on.


8. Sew your outer piece to your inner pieces just along the side edges. 


9. Take binding and cut off as much as you want for a tie. I used 43 inches. Center and mark off where you want it to attach. Now sew along the edges of just the part that will be used as the tie. And then pin and sew it to your cover. Mine is centered but I think it could look really good off centered as well. 


10. Now it's time to sew the top and bottom seams. Making sure you are centered on your rick rack. Easiest way is to do so is to follow the stitching that you did to attach the rick rack.


11. Turn the cover right side out and fold it in half with the inside facing out. Now fold you binder inside out and slide your cover on.


12. Now load up your binder and enjoy!

Doesn't that planner just look perfect in this! 


Hope you like it. If you have any questions please ask. 

Saturday, February 18, 2012

Blog Planner

As anyone can see I'm not the greatest at getting myself organized and getting blogs posted. But I found this awesome free blog planner on Pinterest. Ahhh Pinterest! How did us crafters live before you?... What was I talking about? Oh right, blog planner. I mean just look at this!


Isn't this nice! Each week is organized by projects/posts instead of days. So much better for the person who doesn't have a daily schedule like me and just has her projects for the day/week or whatever.

I didn't use the exact download, I recreated it with just a few tweaks like the font. But instead of a full month per page I opted for 4 months per page. But here is hoping that this may actually help me get organized and more consistent about my blogging. *crosses fingers* I've just started using it this week and I know it's already helping me set and keep my goals.

And what's in store for tomorrow? The adorable binder cover that I make for this planner/pattern binder.

Friday, February 17, 2012

Sewing Machine Quilt

I made this several months ago. It was an idea I got from a blog. I for the life of me can't remember which blog it was but thank you to whoever it was. This little thing has saved my poor desk. I need to make another one for my serger. 


It's just two pieces of fabric, a layer of batting and some binding. Super simple. I used some random scrap fabrics. I don't care for the combo but it still works. I intend getting some cuter fabrics and making matching ones for my sewing machine and my serger. But seriously this thing is so helpful. My machine is heavy and I move my machine around a lot. I was on my way to destroying the top of my desk before I made this. 

Sorry for the even worst than normal pictures. The lighting in our apartment is abominable and my camera doesn't always like to focus in bad lighting. 

My New Toy!

Lookie what I got last weekend!


Isn't it a pretty serger! It's my first and it's been a long overdue purchase. I dropped a pretty penny for it to! But it was totally worth it. This thing is a beast and runs like a dream.

And guess what else! I found this in with some of the crafting stuff that was my grandmother-in-law's.


It's a ruffler foot! And it fits my sewing machine and it works perfectly! I'm so stoked! I was so happy when I found this that I said words that I'm pretty sure made Grandma roll over in her grave. And grandma was awesome and it actually had the instructions with it so I didn't have to figure it out on my own. I was seriously one project that needed gathering away from buying one. I have avoided gathering for a long time because frankly, I suck at it and all it does is cause me to curse. With a baby girl avoiding gathering and ruffles has become near impossible, so like I said before, I'm stoked about this!