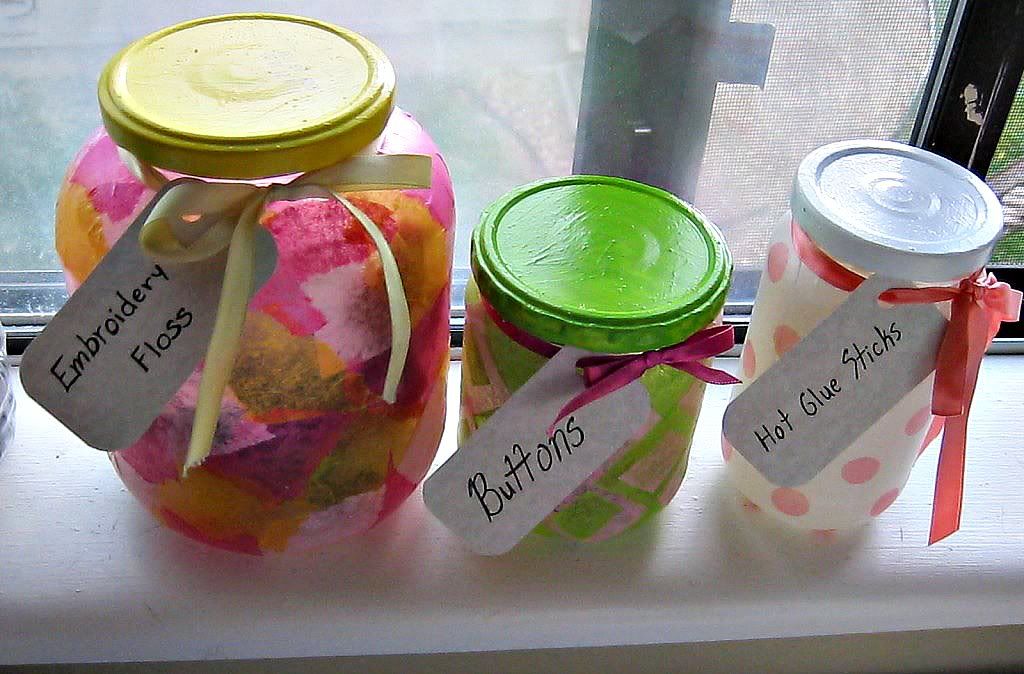
I love these jars! They are so fun and easy to make. And are a great use of those empty food jars instead of filling up those land fills!
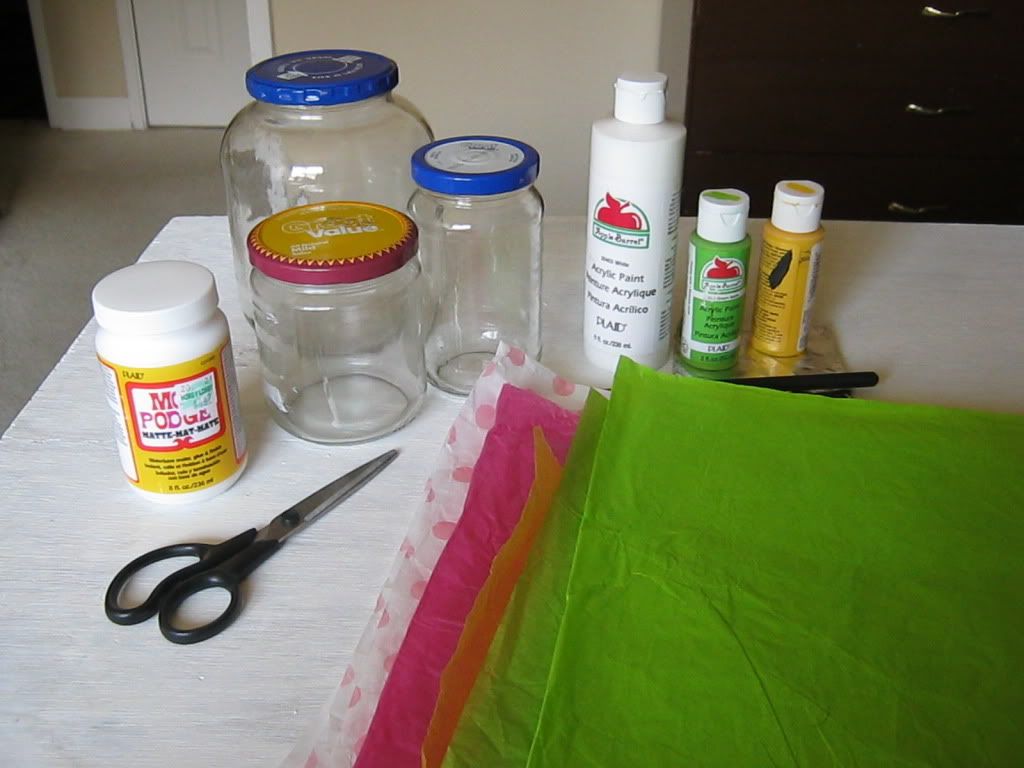
Supplies:
- Clean jars, with label removed. If you don't have goo-be-gone (like me) you can run your jar under some warm water to loosen up the glue and any stuck paper left on your jar. With a little elbow grease, some glue will rub right off under the warm water. Others you may need to scrape off with a straight edge knife. But a bit of sticky residue won't hurt this project a bit.
- Mod Podge or other decoupage medium of your choice
- Tissue Paper
- Paint brush
- Scissors
- Paint for lids of jar
- Ribbon (optional)
- Paper for tags (optional)
1.Gather supplies and protect your work area if need be.
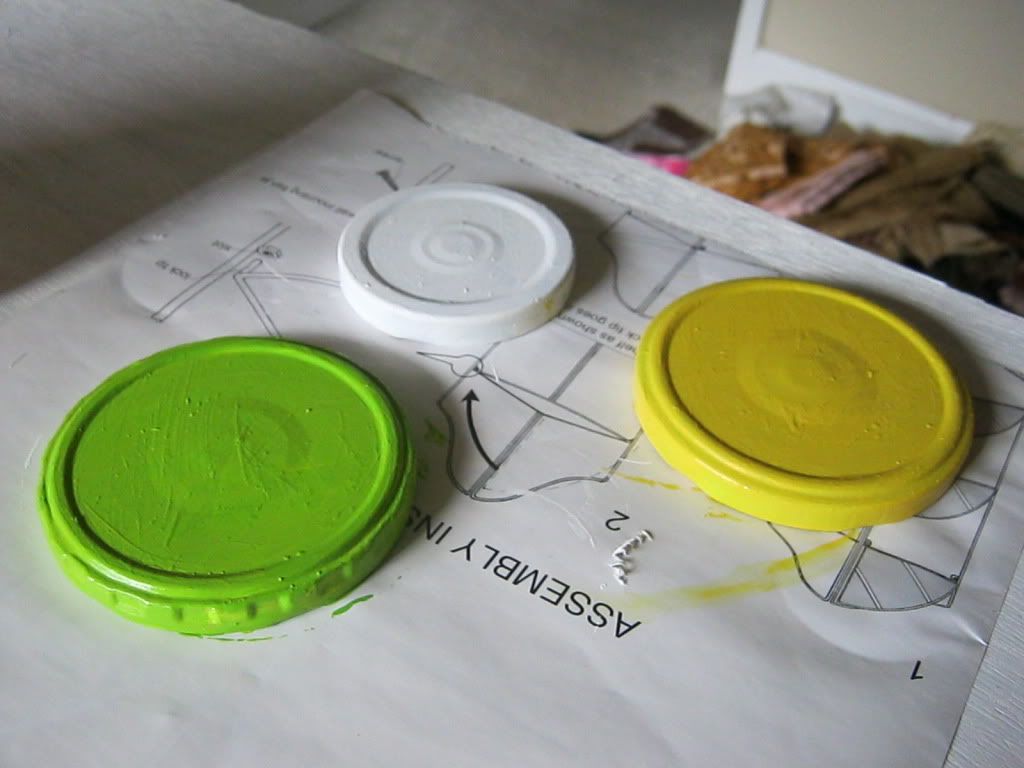
2. Paint your lids. I used acrylic craft paint. I recommend using spray paint if you have it because in order to get good coverage with the acrylic I did 2 coats of white and 2 coats of my chosen color and you can my brush strokes. Ick!
Make sure you let each layer dry well between coats or you'll lift the previous layers up as you paint! You don't want this to happen, trust me!!!! When the paint dried I put a coat of Mod Podge to help "seal" it and get rid of the chalky matte finish the acrylic left, but you don't need to.
3. Decide on the design you want on your jar and get your tissue paper ready. Remember the more layers of tissue paper the more opaque your colors will be.
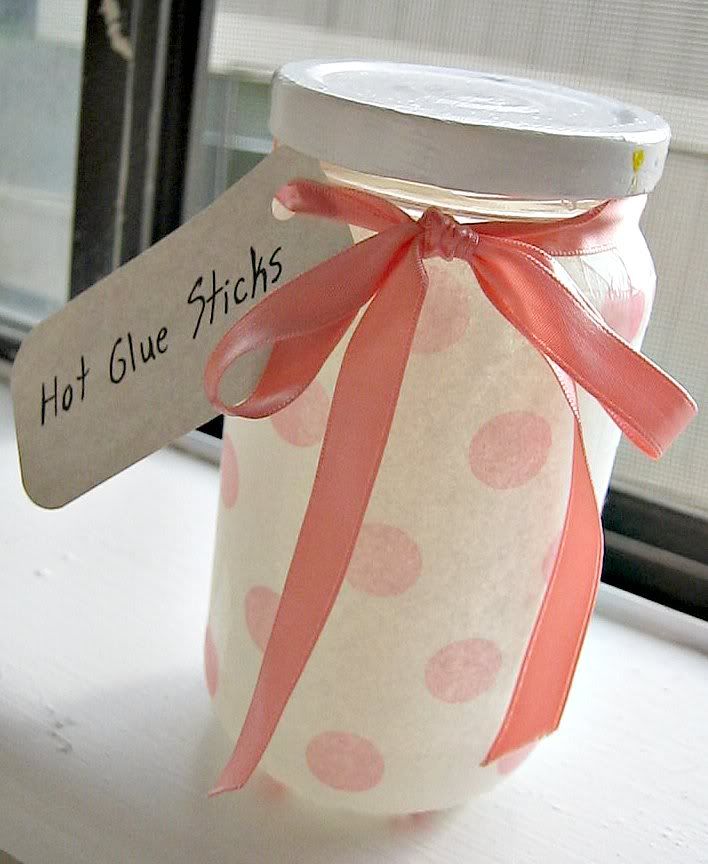
Jar #1: Pink pockadots
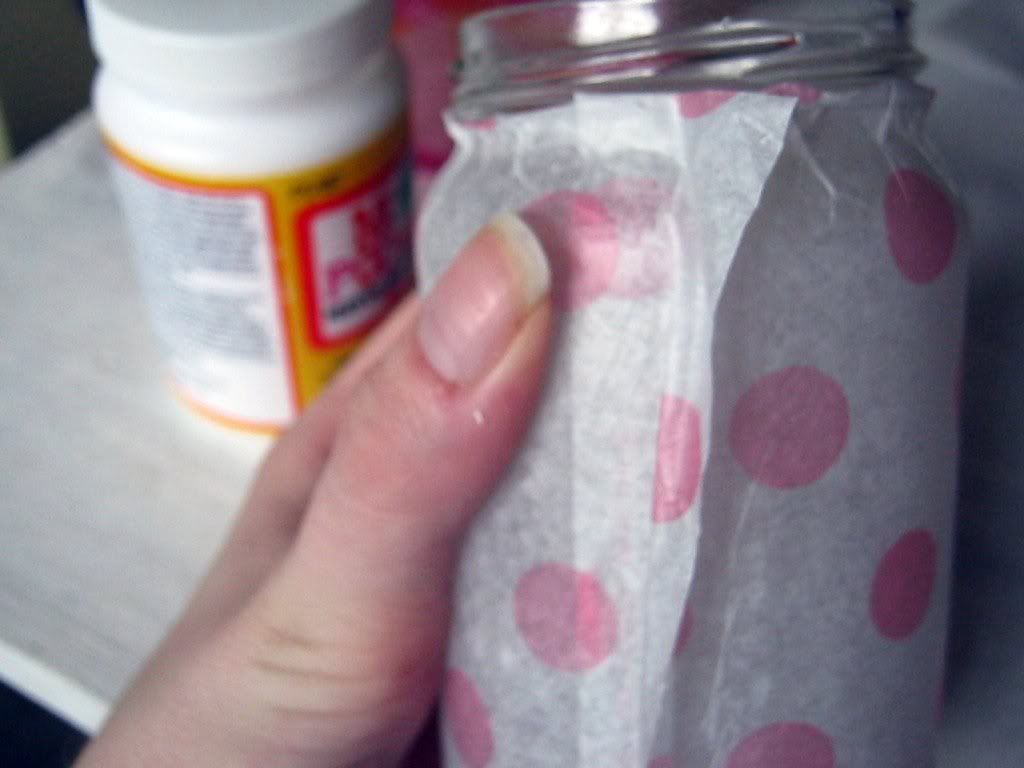
Using one piece of tissue paper, cut a rectangle that big enough to wrap around your jar once. Secure your first edge down, then working around your jar about 1-1.5 inches at a time glue down the paper with the mod podge. When you've gone all the way around cut away any extra tissue paper from the seam and the top and bottom.
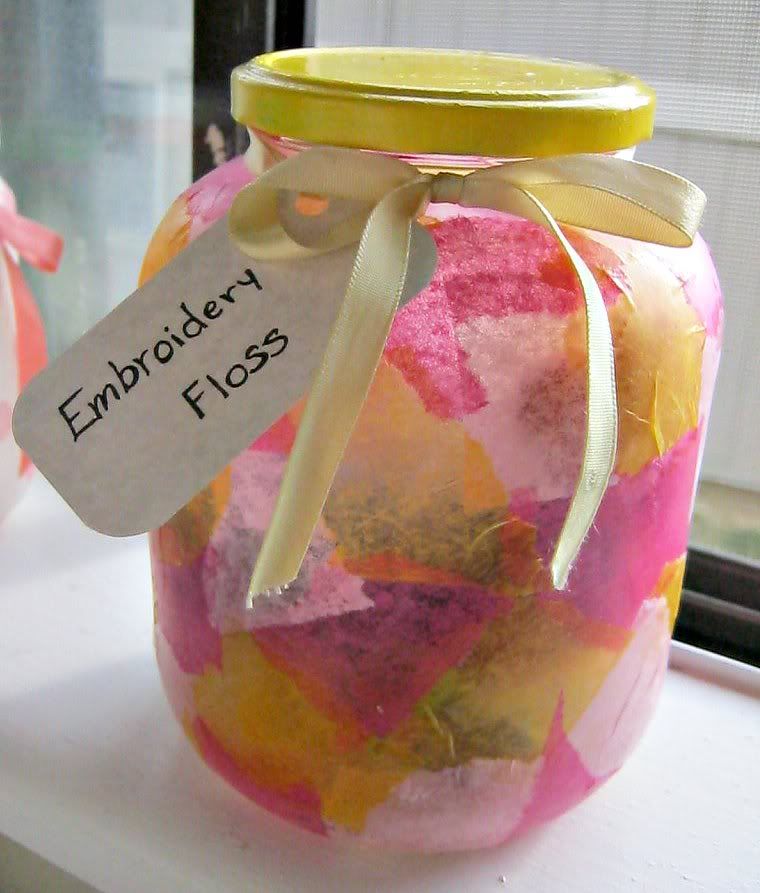
Jar #2: Pinks and orange
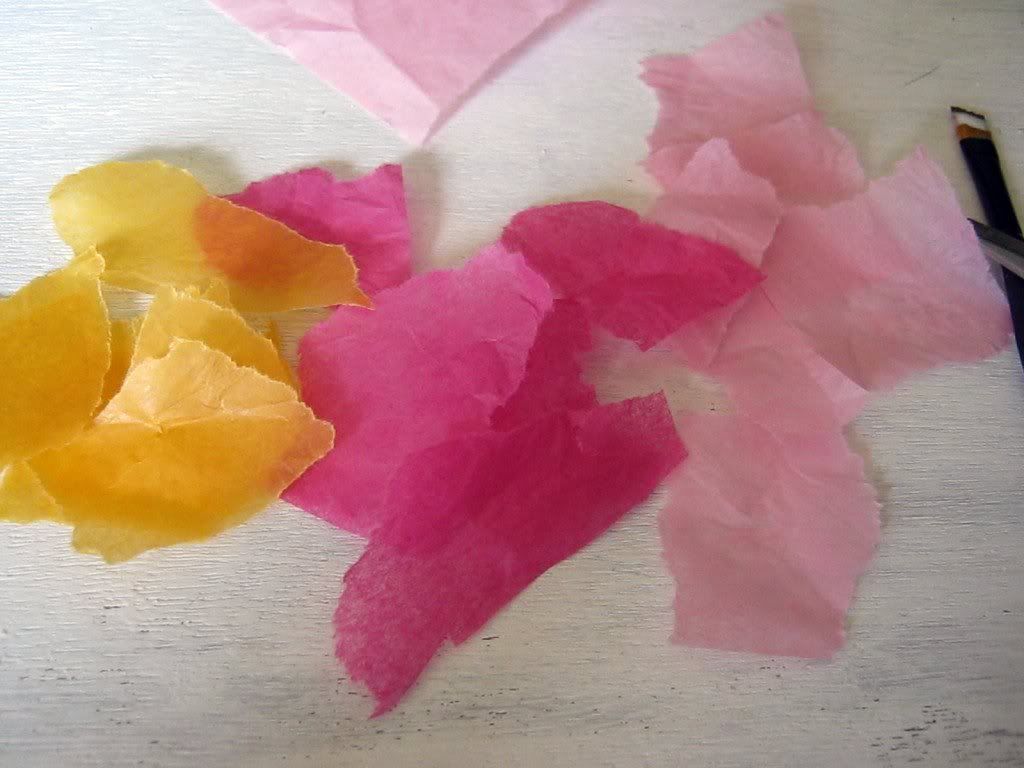
Tear off approximately 1 inch squares of tissue paper. Don't worry about being exact. Variations in size and shape of pieces are good. You need a minimum of 3 colors could have as many as you can fit on your jar. Start gluing your pieces down. Overlapping your edges just a little. Try to keep from placing 2 of the same color right next to each other. With only 3 colors it's hard to avoid at least having a few pieces touch but don't fret over it. Continue till your jar is covered.
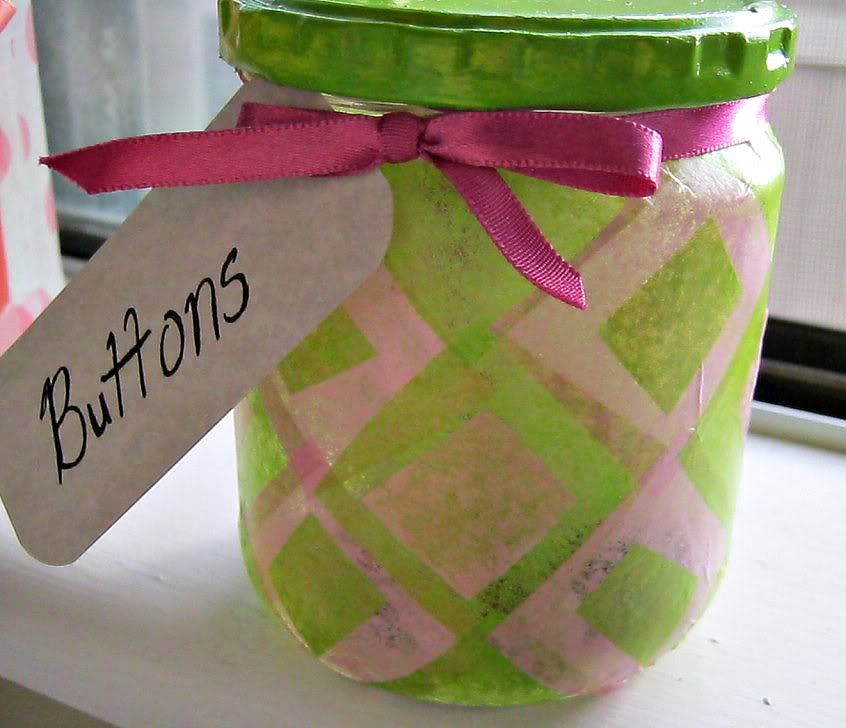
Jar #3: Pink and Green
With scissors cut out squares that are just big enough that when placed on diagonal 2 will fit from top to bottom with a little overlapping at the tips, if you have a taller jar or want a smaller pattern you could do more but 2 worked great for me. Then take your secondary color (green) squares and cut half of them in half to make the triangles that go along the top and bottom. Then glue them down in the diagonal checkerboard pattern you see. Then with the leftover squares cut them into quarters and place one little square of the opposite color (green on pink and pink on green) in the middle of each of the big squares.
4. Coat your decorated jar with a layer of mod podge. This is to assure you have all your tissue paper secured down and to protect it from any moisture they may come into contact with.
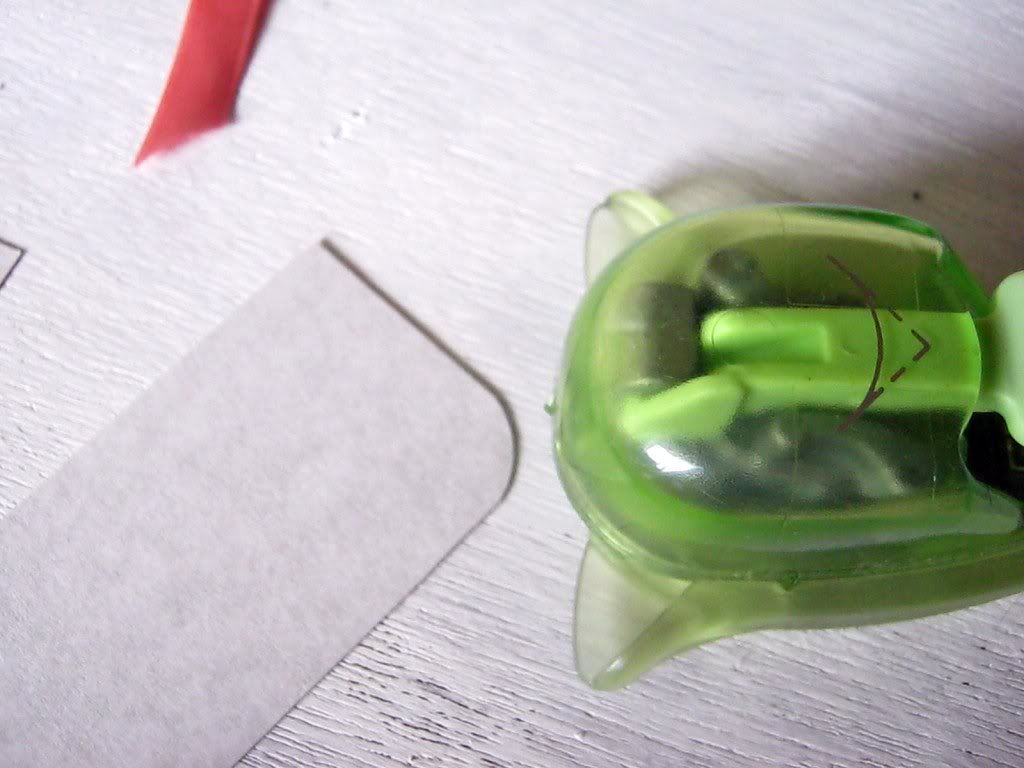
5. I made some very simple tags but you could go as fancy as you want. All I did was cut some rectangles from some cardstock. I used my nifty round corner punch for the corners.
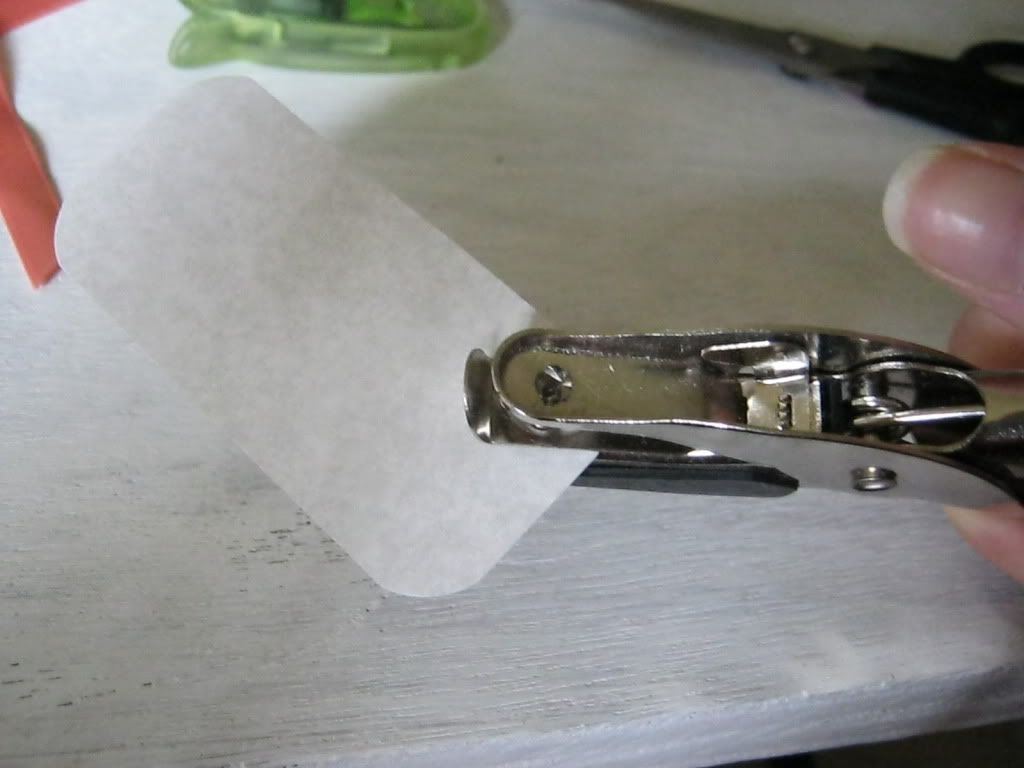
Then a simple hole punch to lace the ribbon through, and a calligraphy pen to write my words.
6. When your jar and lids are dry attach your tag with a simple piece of ribbon or yarn and fill your jar!
Easy peazy and they are such a cute way to store those little odds and ends!