Showing posts with label sewing. Show all posts

Sunday, February 19, 2012

Binder Cover Tutorial

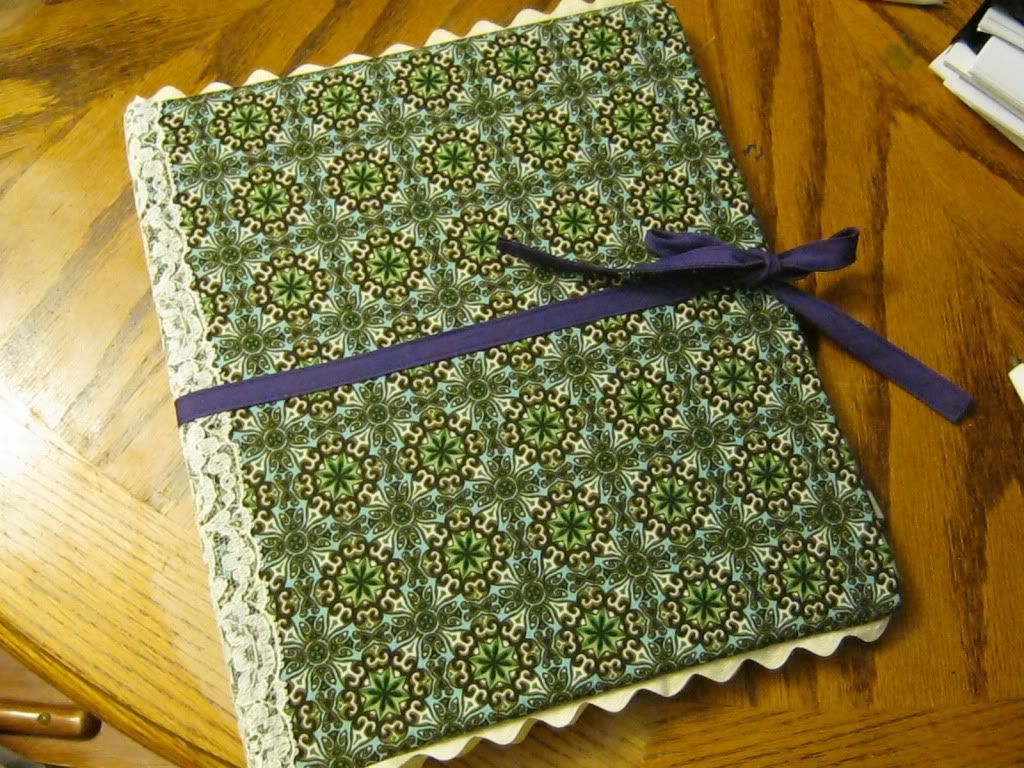
I love a cute binder! I mean who really wants to carry around one of those plain old plastic ones? I know I know I don't. I've dabbled with making covers before but this one takes the cake!


1.Gather Supplies:
  • 1/2 yard of fabric or 2 fat quarters would work as well. 
  • 4 feet of wide rick rack
  • 13 inches of  3" wide lace
  • About 4 feet of ribbon or double fold binding, width of your choice. I used 1/2 inch. 
  • Optional: 1/2 inch wide elastic. 1-3 feet. 

2. Lay out open binder on fabric. Cut around binder with just enough for a seam. This is the outer piece.
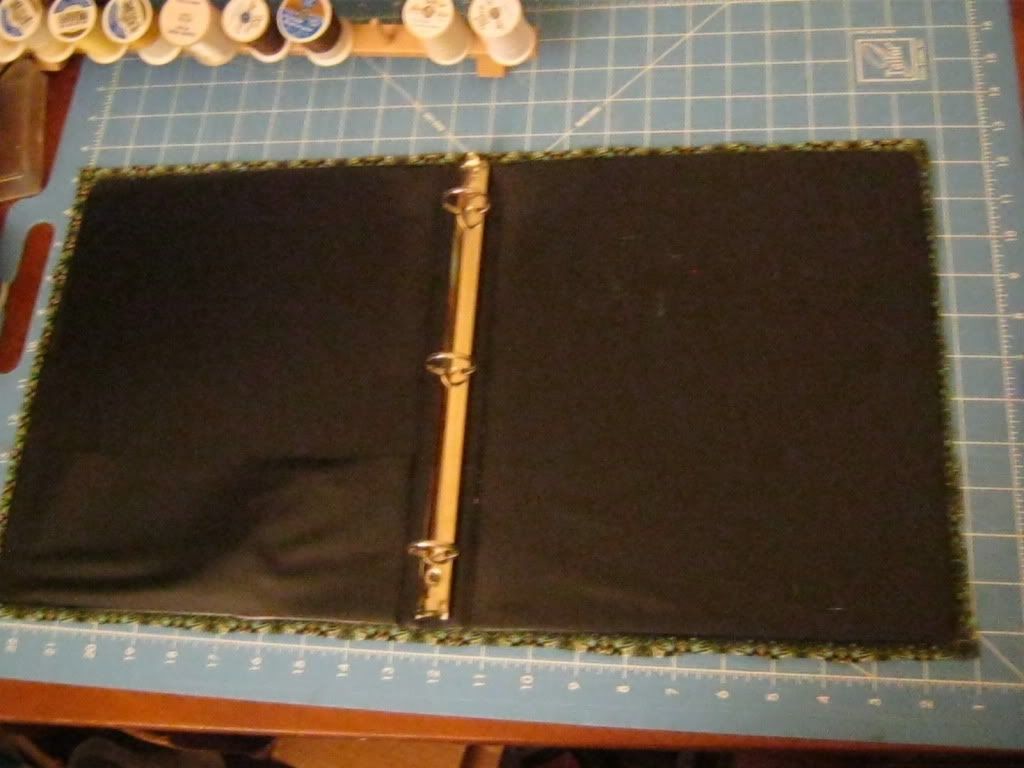

3. Lay out closed binder on fabric. Cut 2 with enough for a seam. These are the inner pieces.
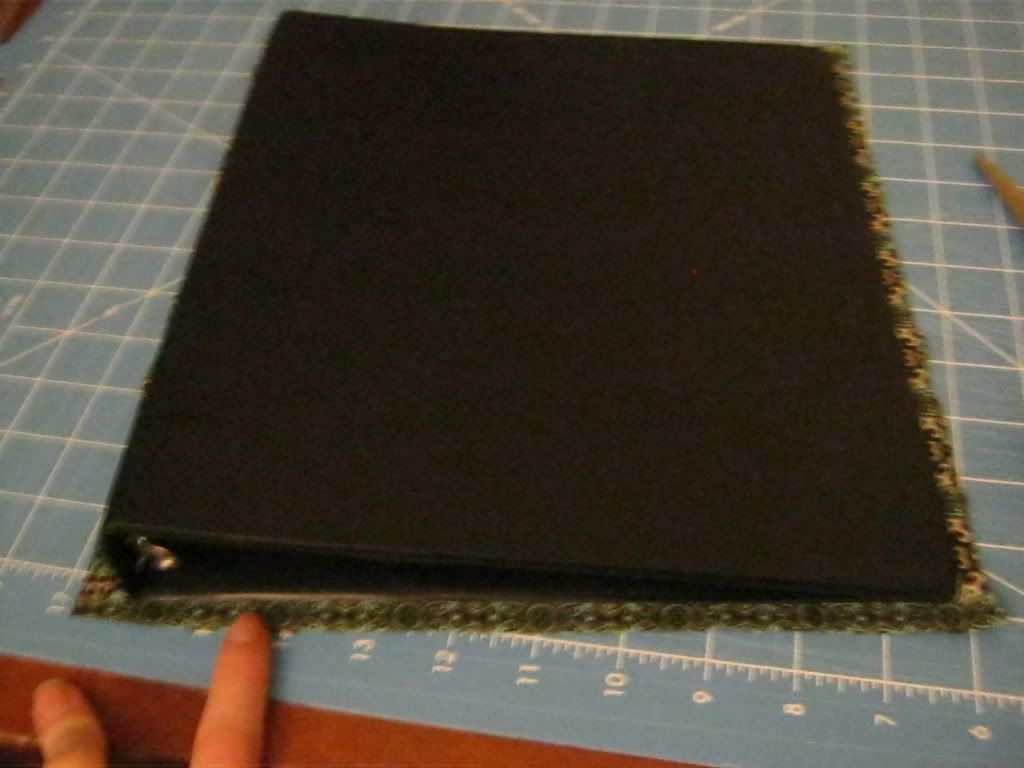

4. Take the inner pieces. Hem the edges that will lay right along the rings. I just serged mine.


5. If you want a pen or a notepad holder take your elastic and place and sew down your elastic on your inner pieces. 
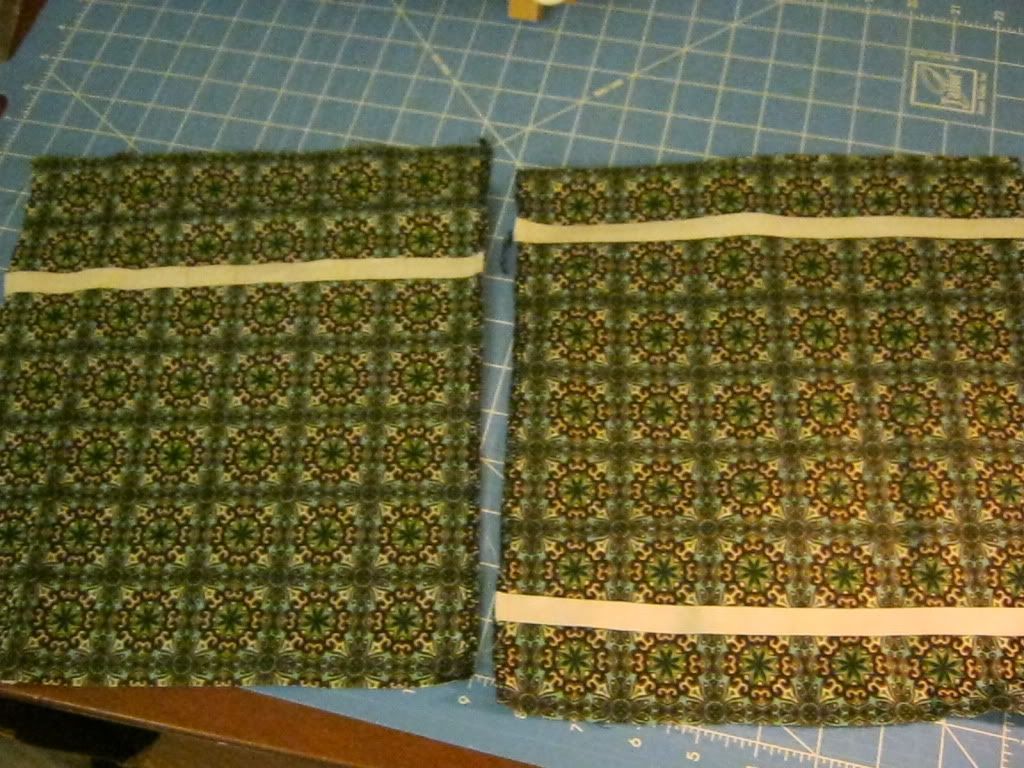

For pens

For a notepad. I used 2 pieces to help keep it in place

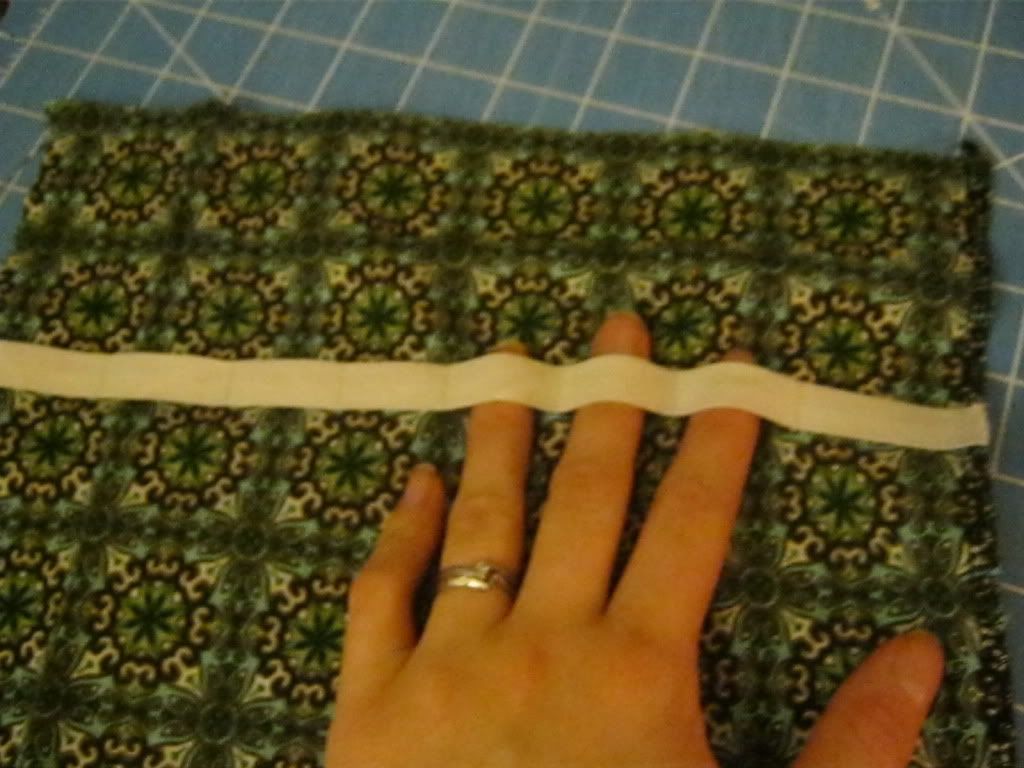
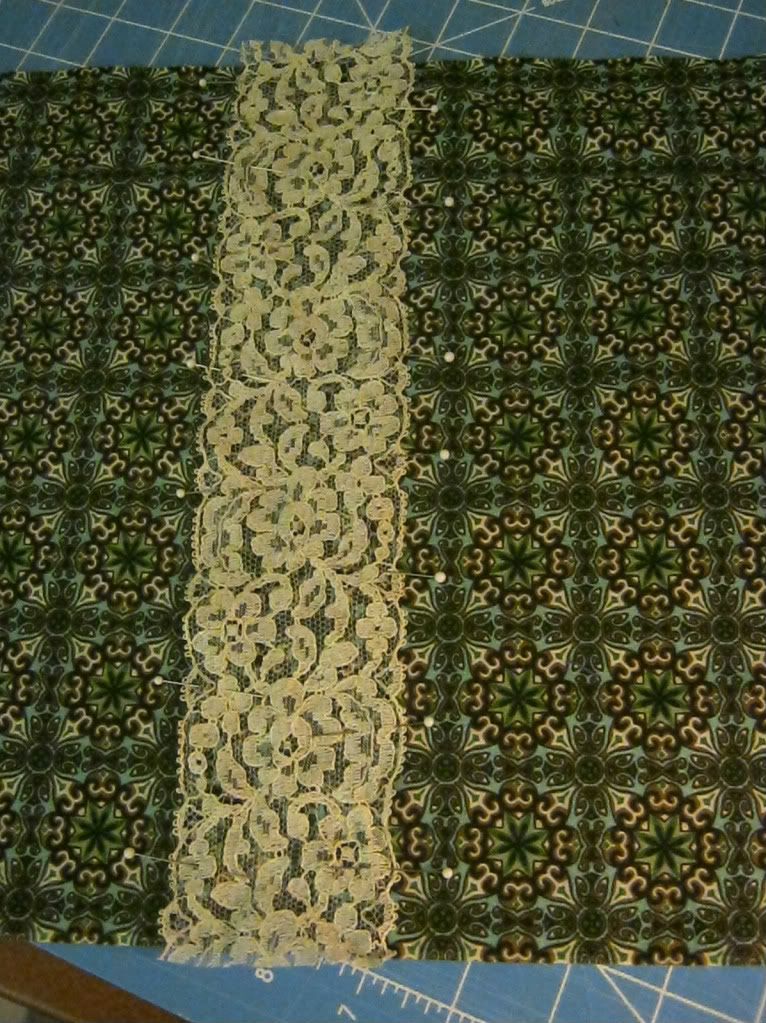
6. Take your outer piece, center and sew down the lace. 


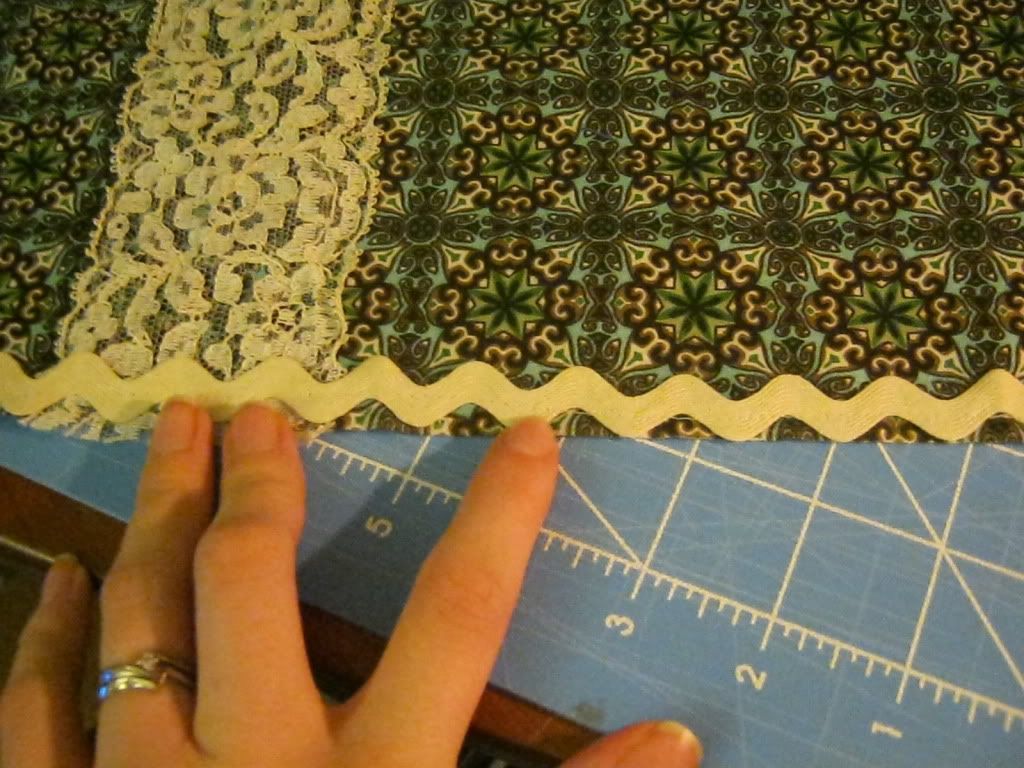
7. Pin and sew down the rick rack to the upper and lower edges of your outer piece. Sew straight down the center. This will help later on.

8. Sew your outer piece to your inner pieces just along the side edges. 
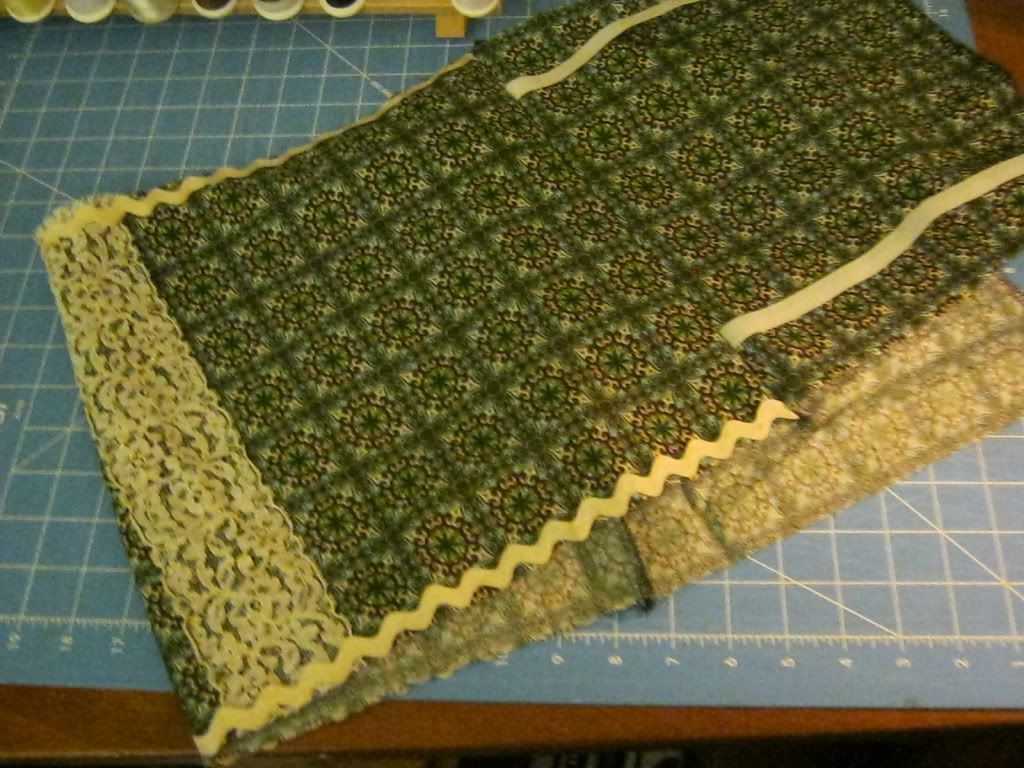

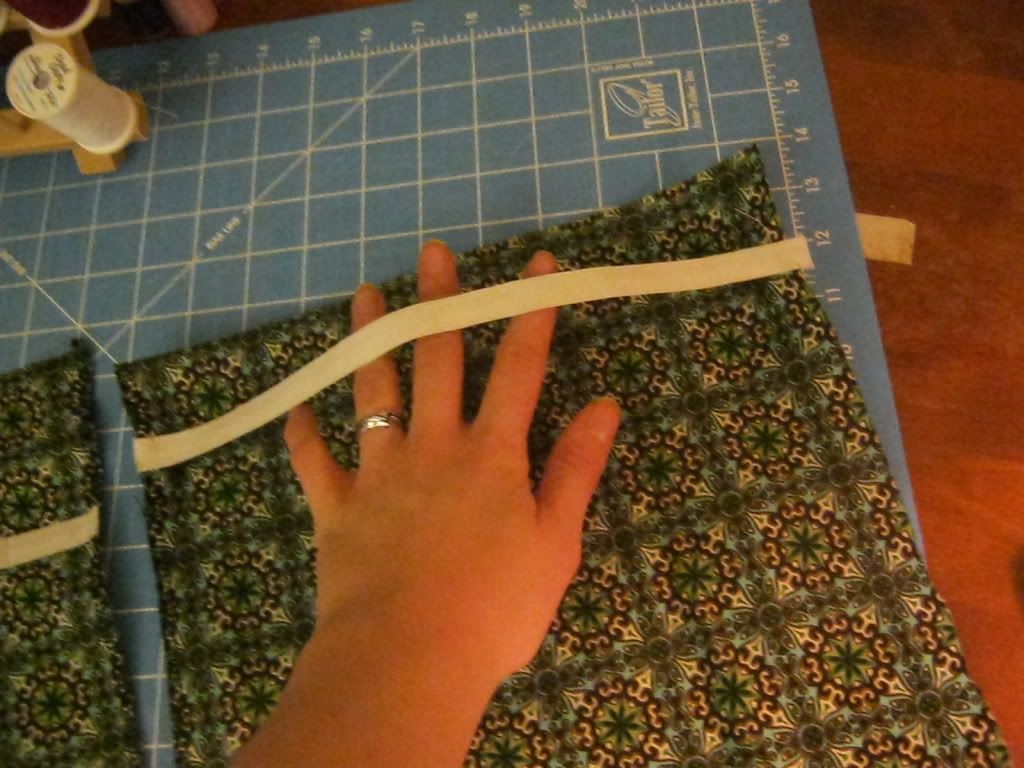
9. Take binding and cut off as much as you want for a tie. I used 43 inches. Center and mark off where you want it to attach. Now sew along the edges of just the part that will be used as the tie. And then pin and sew it to your cover. Mine is centered but I think it could look really good off centered as well. 


10. Now it's time to sew the top and bottom seams. Making sure you are centered on your rick rack. Easiest way is to do so is to follow the stitching that you did to attach the rick rack.


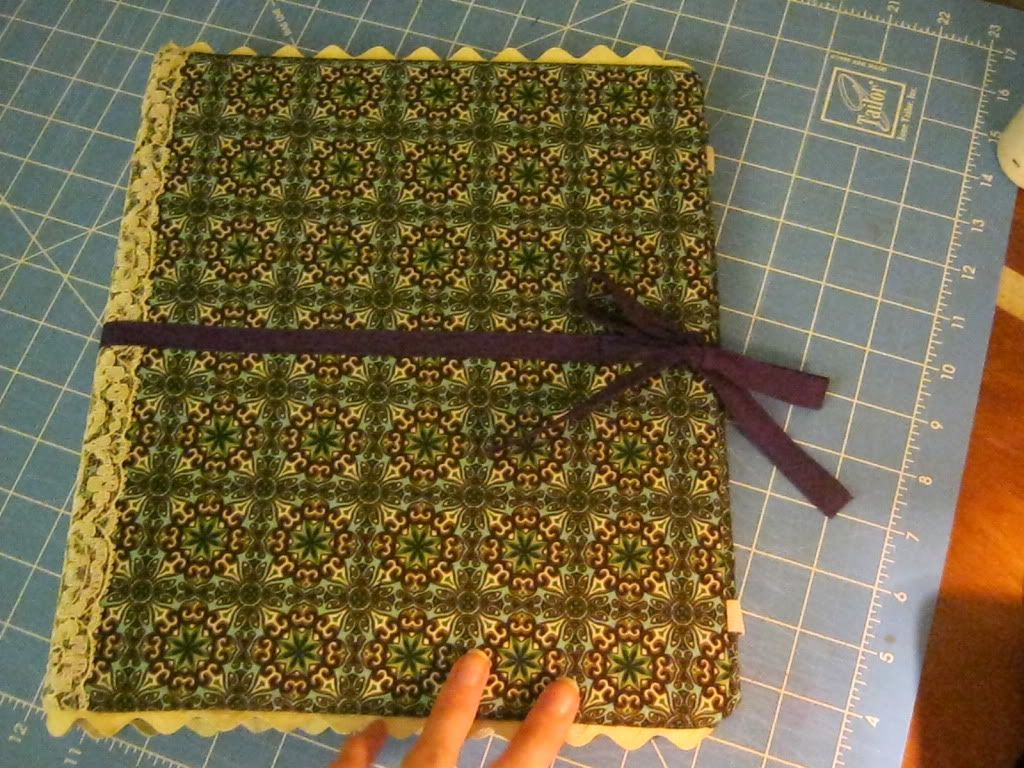
11. Turn the cover right side out and fold it in half with the inside facing out. Now fold you binder inside out and slide your cover on.


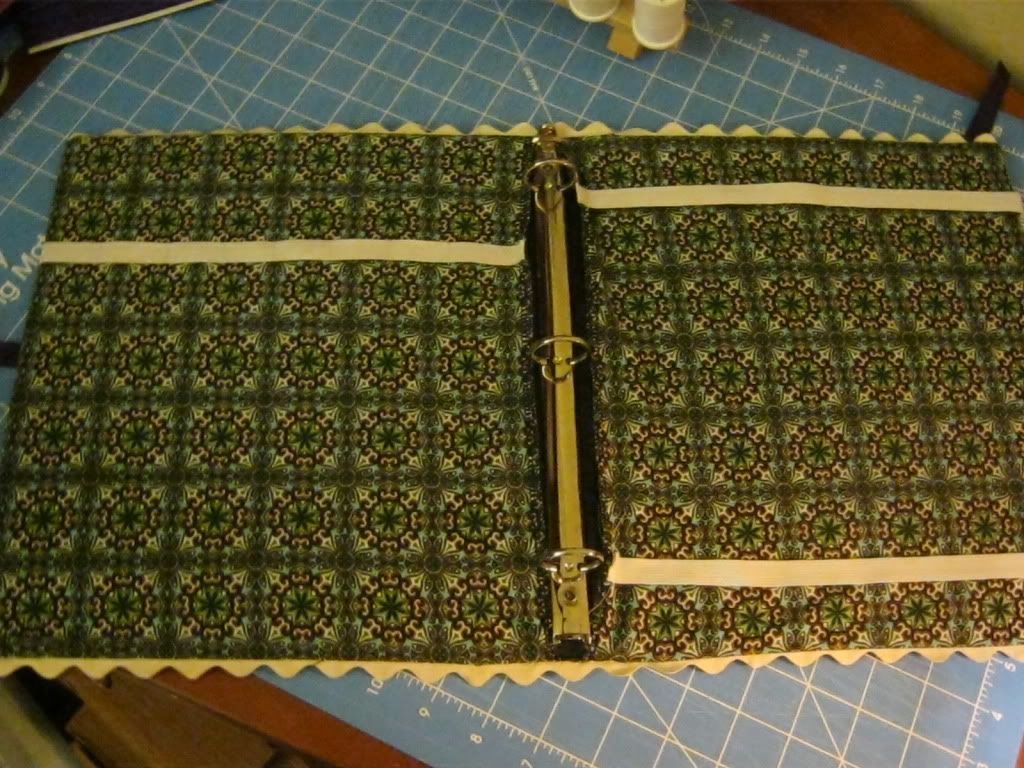
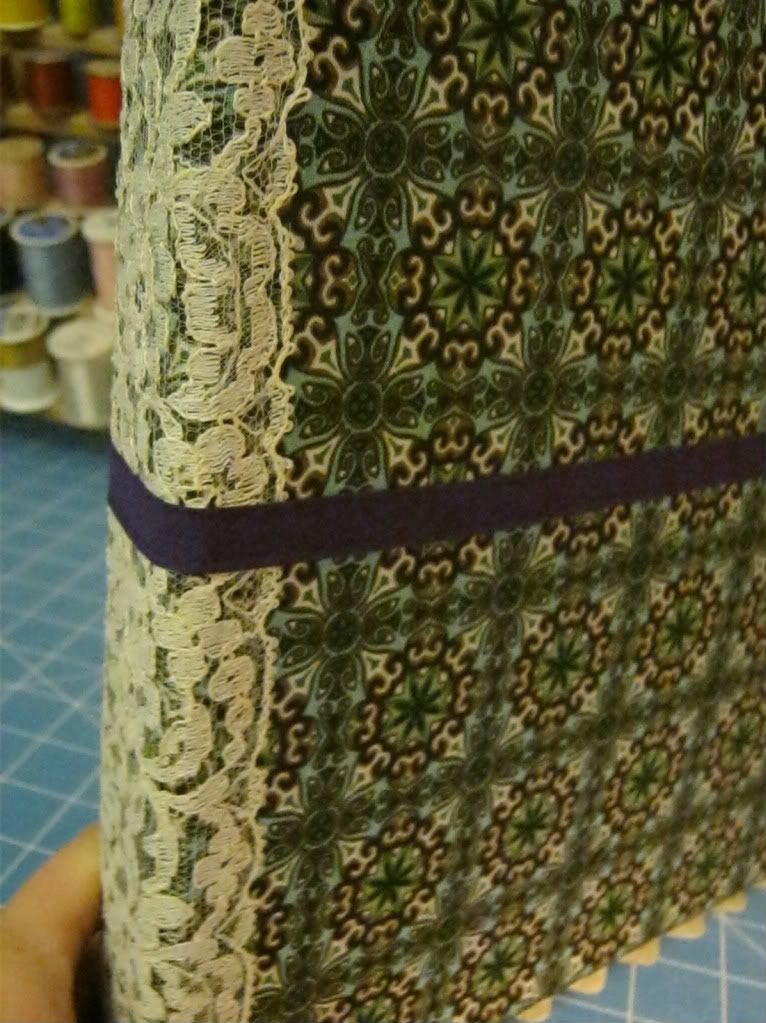

12. Now load up your binder and enjoy!
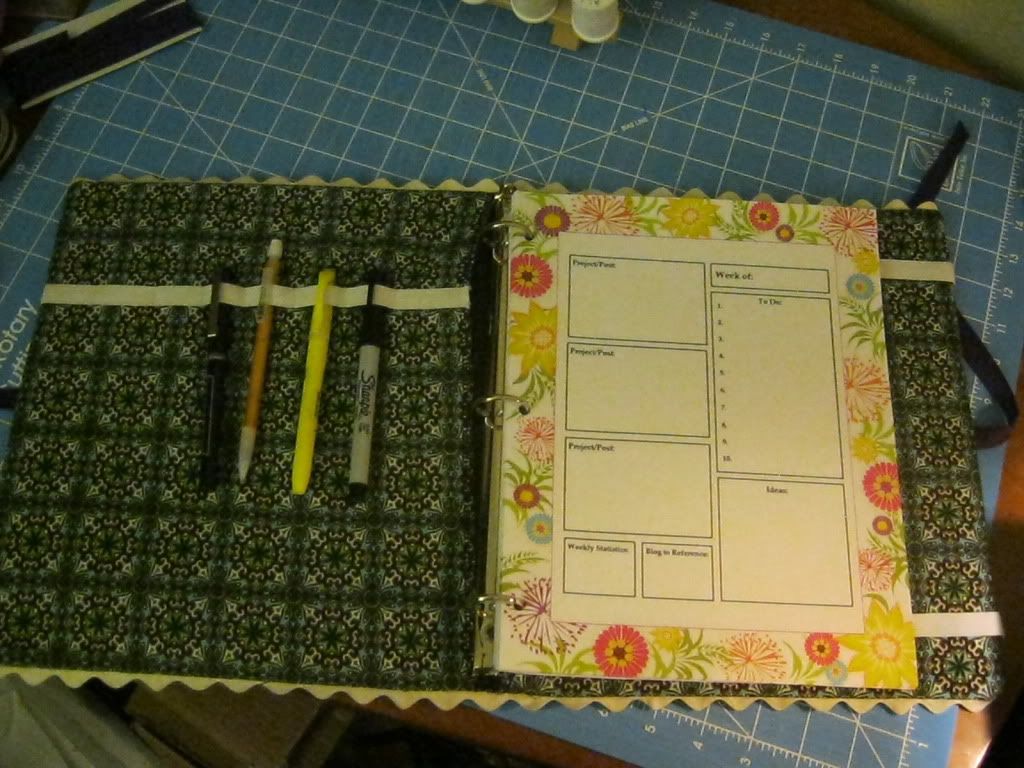
Doesn't that planner just look perfect in this! 


Hope you like it. If you have any questions please ask. 

Friday, February 17, 2012

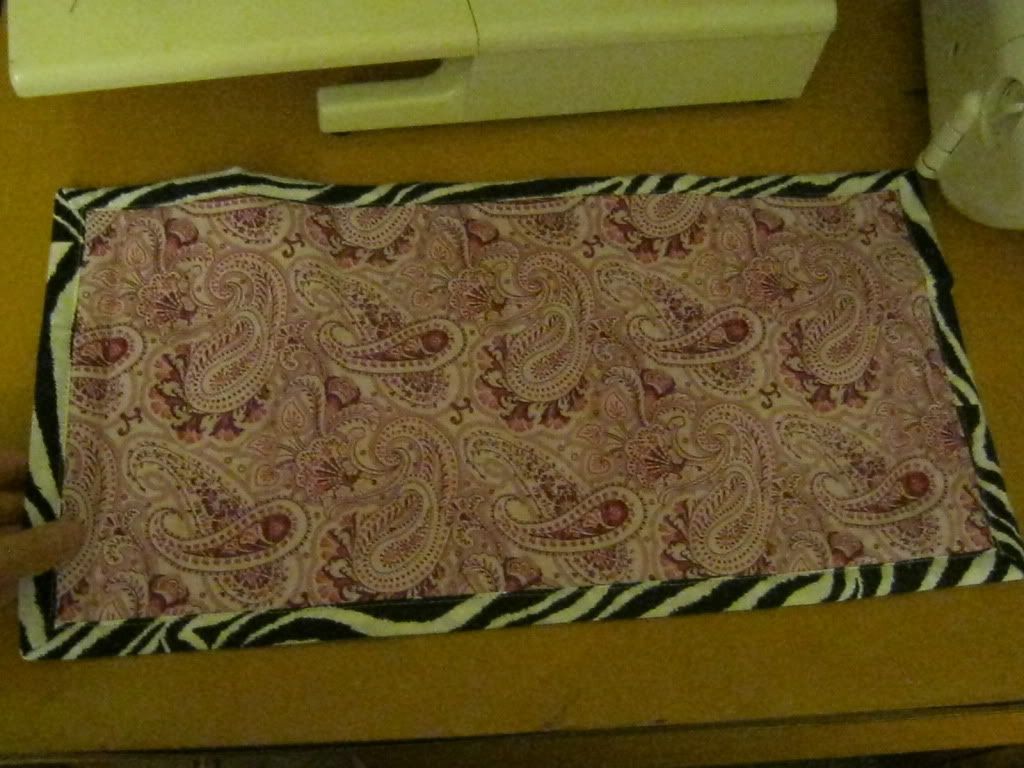
Sewing Machine Quilt

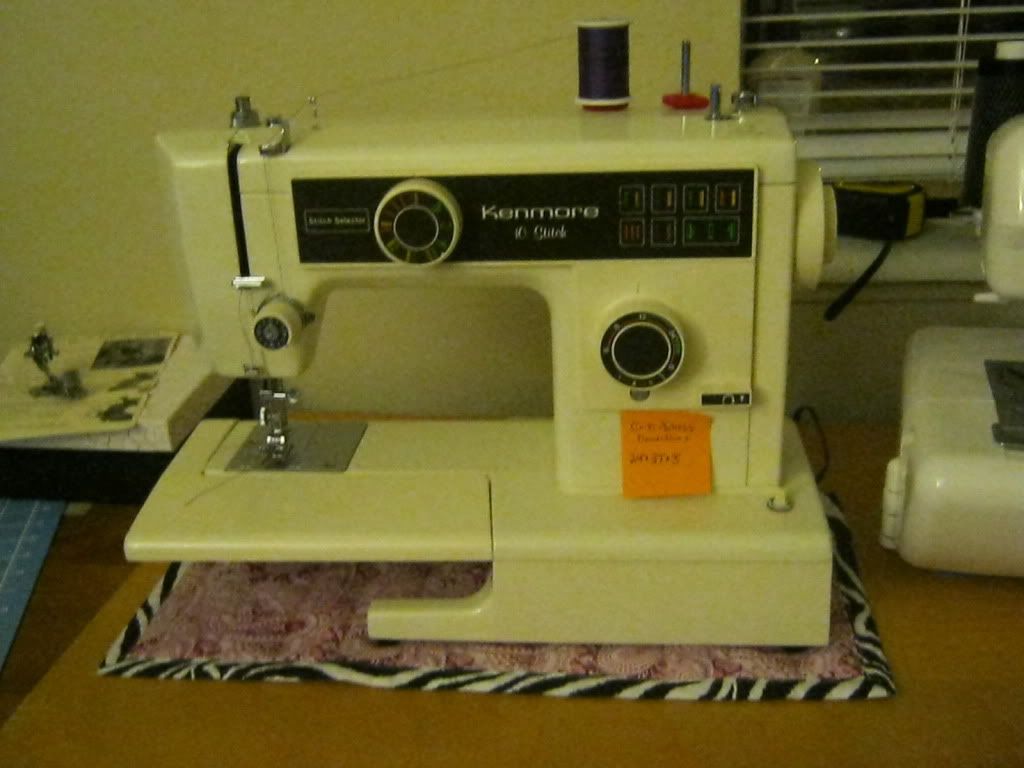
I made this several months ago. It was an idea I got from a blog. I for the life of me can't remember which blog it was but thank you to whoever it was. This little thing has saved my poor desk. I need to make another one for my serger. 


It's just two pieces of fabric, a layer of batting and some binding. Super simple. I used some random scrap fabrics. I don't care for the combo but it still works. I intend getting some cuter fabrics and making matching ones for my sewing machine and my serger. But seriously this thing is so helpful. My machine is heavy and I move my machine around a lot. I was on my way to destroying the top of my desk before I made this. 

Sorry for the even worst than normal pictures. The lighting in our apartment is abominable and my camera doesn't always like to focus in bad lighting. 

My New Toy!

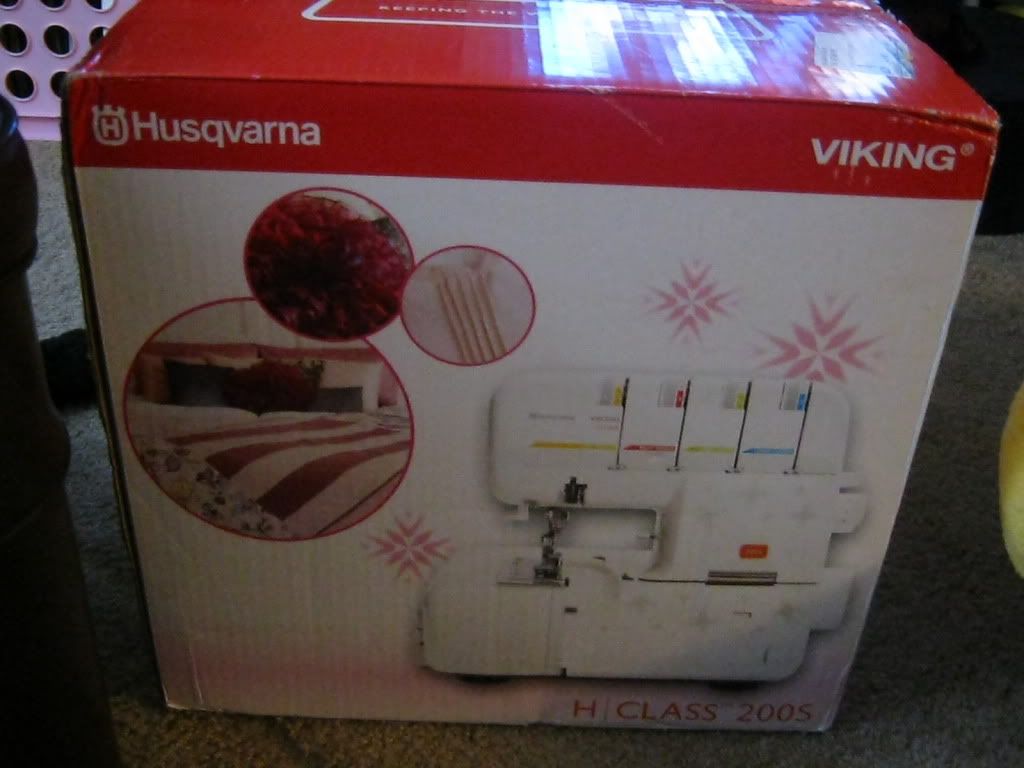
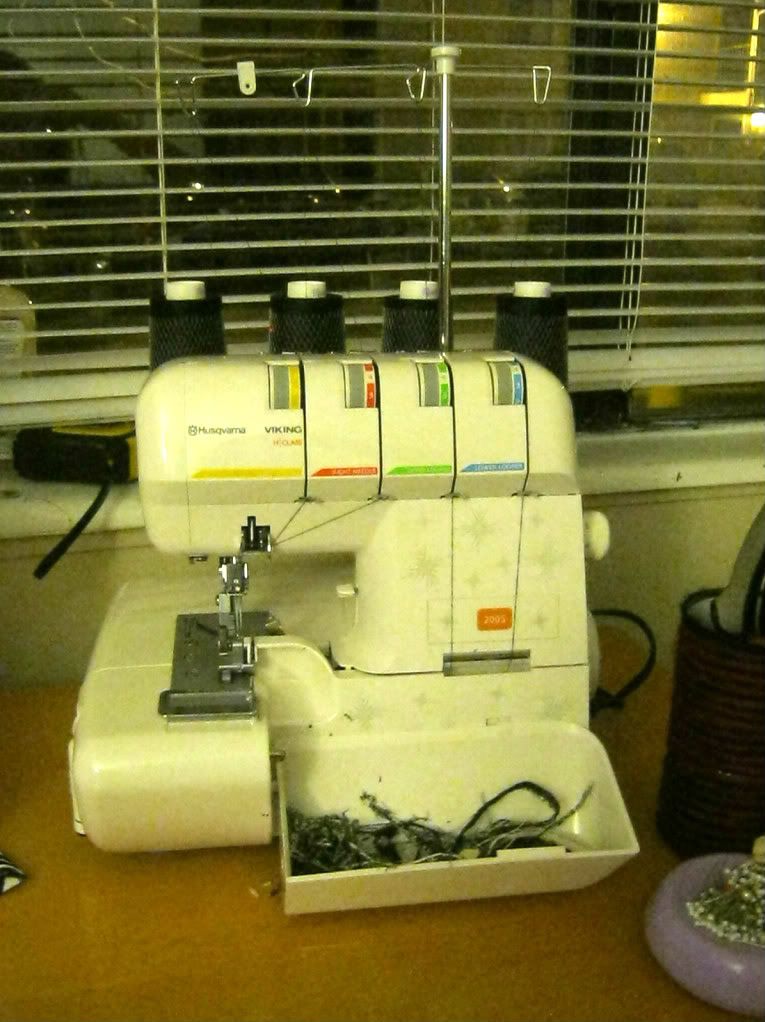
Lookie what I got last weekend!


Isn't it a pretty serger! It's my first and it's been a long overdue purchase. I dropped a pretty penny for it to! But it was totally worth it. This thing is a beast and runs like a dream.

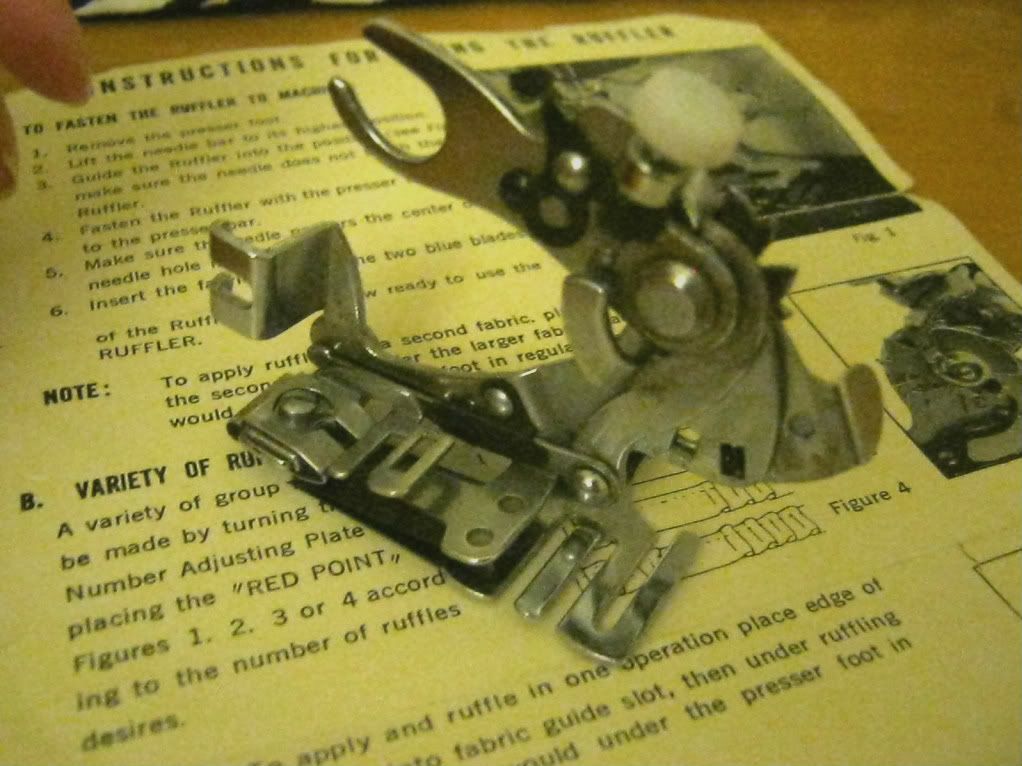
And guess what else! I found this in with some of the crafting stuff that was my grandmother-in-law's.


It's a ruffler foot! And it fits my sewing machine and it works perfectly! I'm so stoked! I was so happy when I found this that I said words that I'm pretty sure made Grandma roll over in her grave. And grandma was awesome and it actually had the instructions with it so I didn't have to figure it out on my own. I was seriously one project that needed gathering away from buying one. I have avoided gathering for a long time because frankly, I suck at it and all it does is cause me to curse. With a baby girl avoiding gathering and ruffles has become near impossible, so like I said before, I'm stoked about this!

Wednesday, February 8, 2012

Car Seat Cover and Blanket

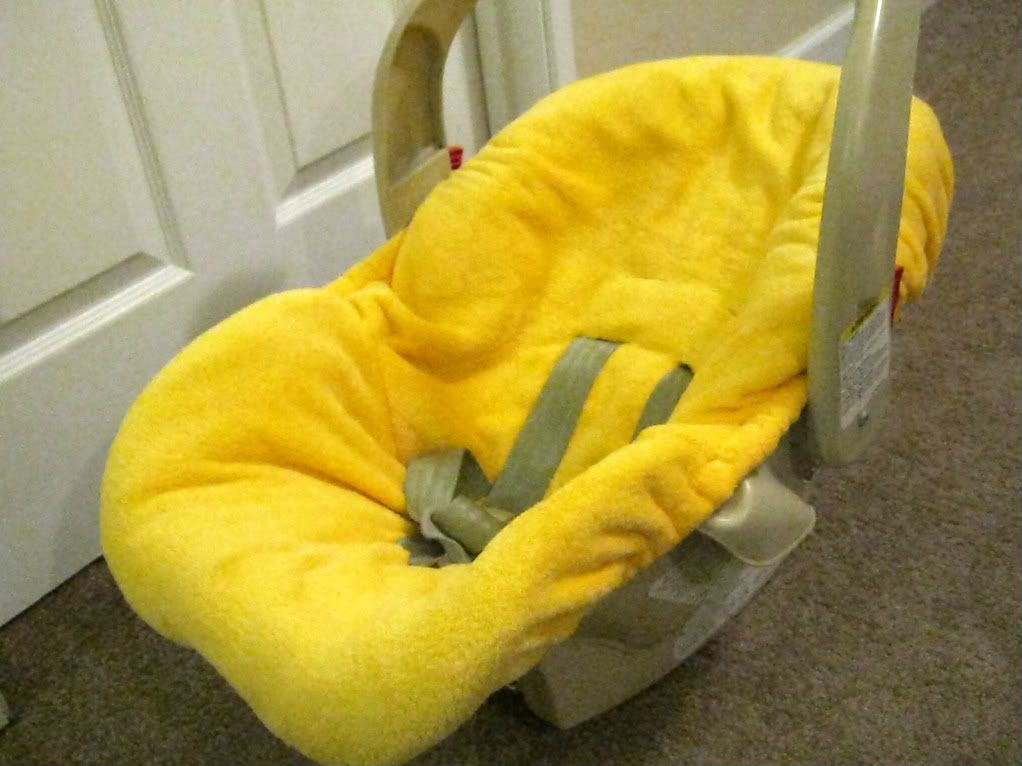
I love Winnie the Poo but I just couldn't stand the generic pastel cover. So I made this awesome bright yellow fuzzy cover. I love the color and it's nice and cozy but not to warm for this abnormally warm winter we are having.


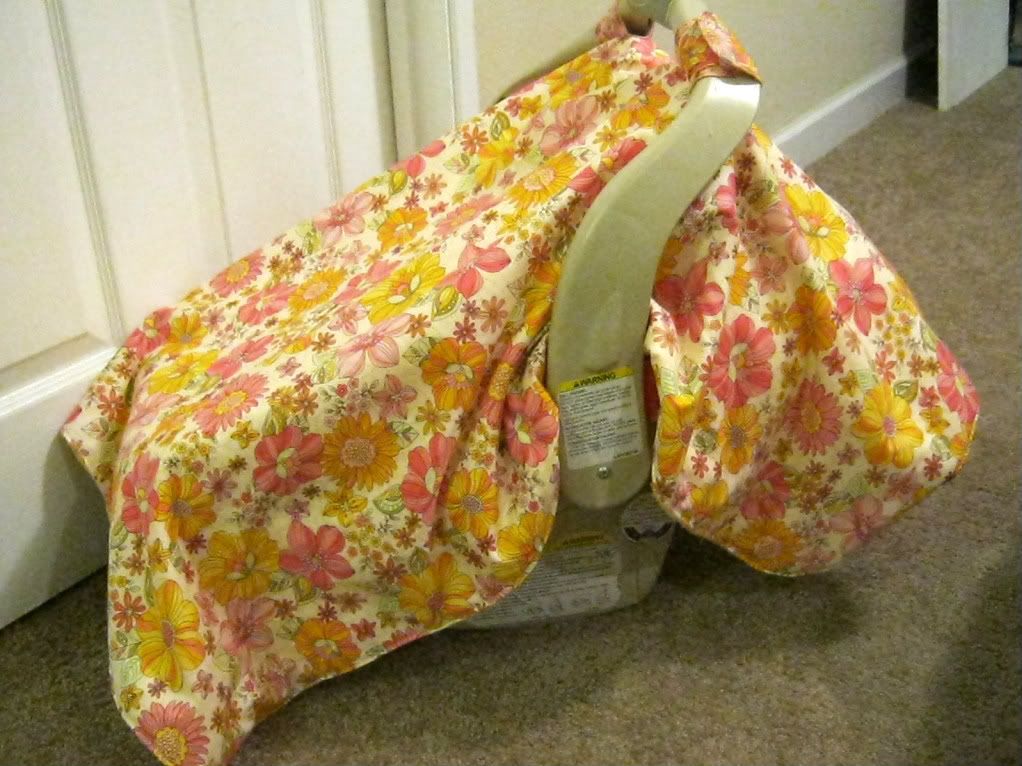
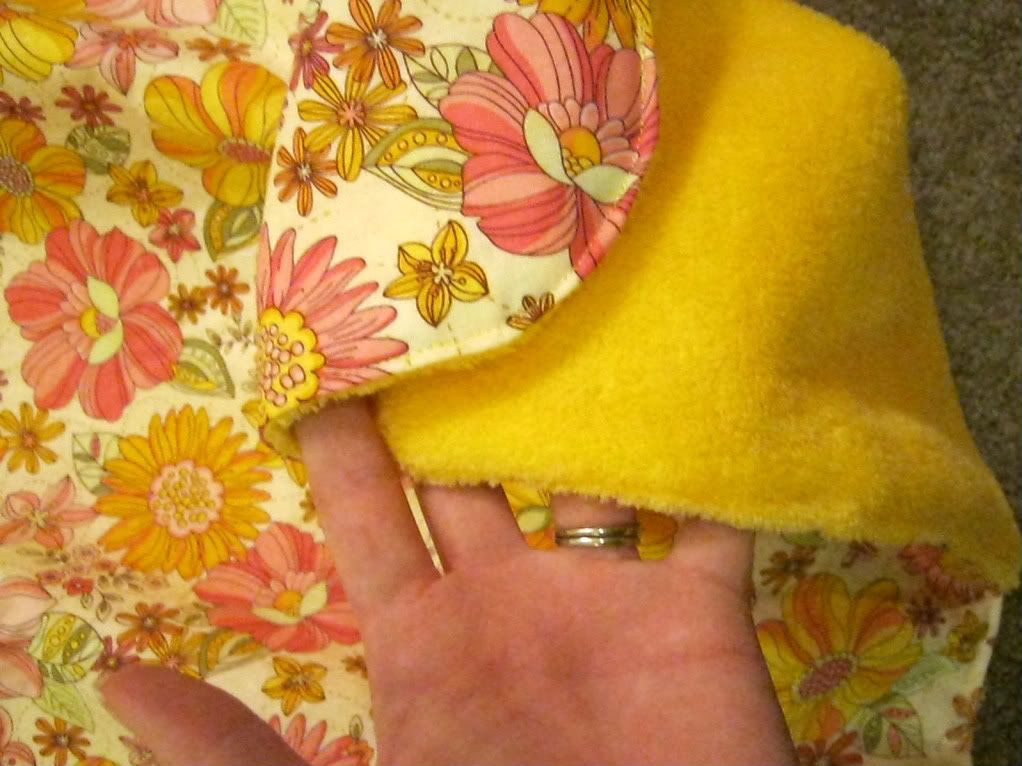
And with a seat cover I just had to make a matching seat blanket! It's got awesome tabs that velcro to the handle so it's not going anywhere. And I lined it with the same yellow fuzzy fabric to help keep the heat in and help block those not fun winter winds.


And yes this floral fabric is a coordinating fabric with my diaper bag! I couldn't resist the color combo and those beautifully fun flowers!

Friday, February 3, 2012

Diaper Bag

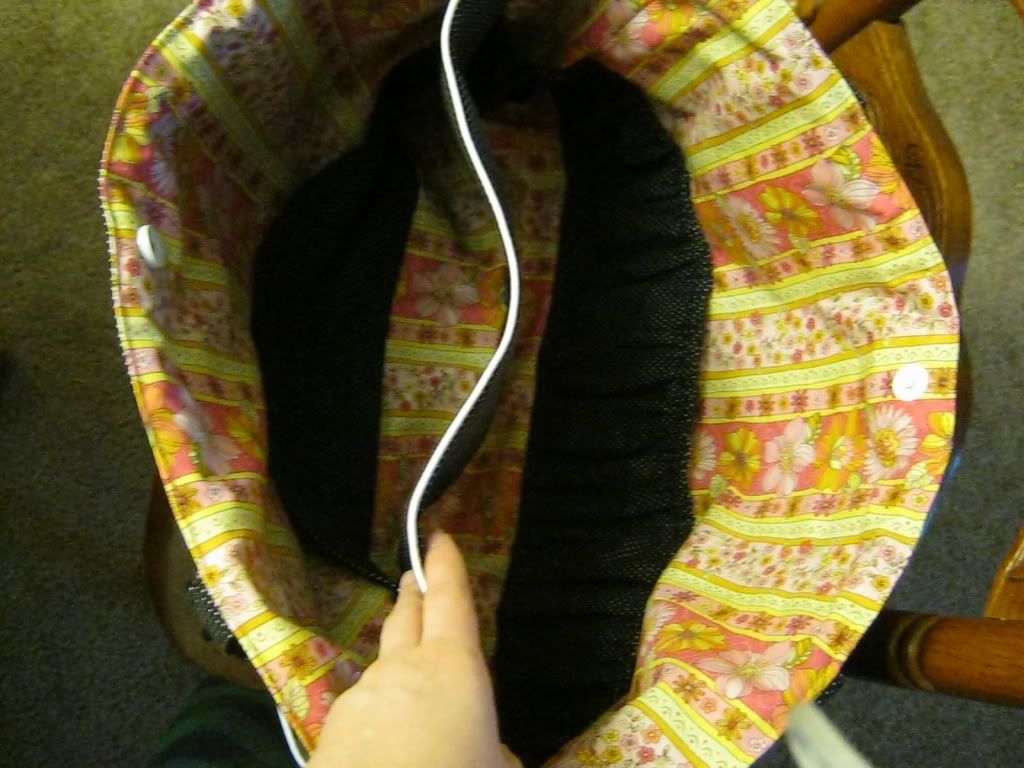
I love this diaper bag! It's huge, has tons of pockets and actually holds all baby's and my things very easily. This tutorial isn't for the beginner but looks much more daunting than it really is. Once you get through it once it seems easy. I fully intend on making another one down the road! 

Inside: Divider and lots of pockets.
  I used quilting fabric (from JoAnn's) instead of home decor like the tutorial calls for and just used extra interfacing to make the fabric hold it's shape better. But do make sure you get extra of any fabric that is directional. This is something that any experienced seamstress knows! But this girl in her, at the time, 8 months pregnant brain completely forgot. *facepalm* So I did have to get creative and switch out what pieces I did in what fabric. But personally I think it turned out amazing despite.

Tuesday, September 13, 2011

Baby Sling

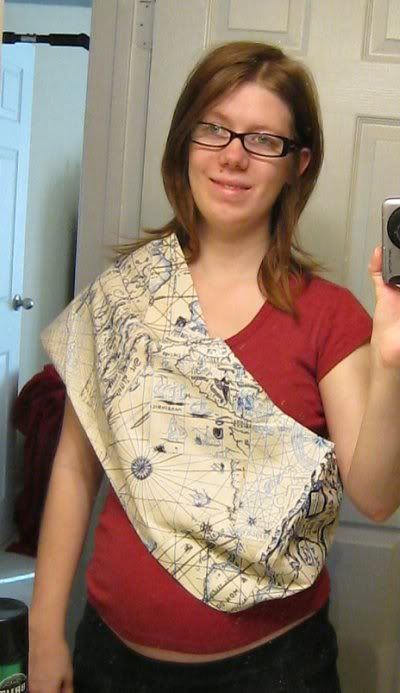
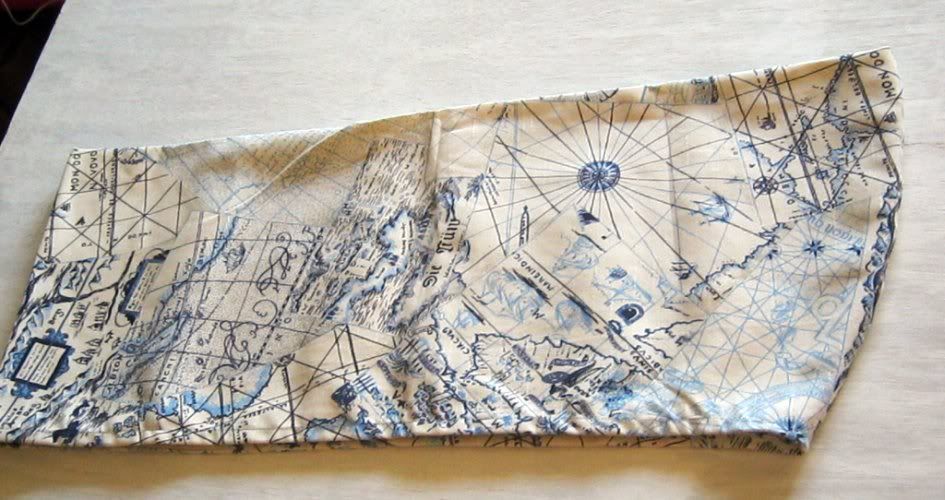
I love the idea of baby wearing but I don't really want to buy one of those bulky looking backpack looking carriers. And I want a carrier that doesn't look so modern so I can use it at renaissance faires. So I did my research and what I really want is a Moby Wrap! The seem very safe but still cute and comfortable to wear. My second choice was a baby sling. Now this is something I could make! So I did.


Pretty cute huh? I'm going to have to wait to see after baby is born whether I like the Moby or the sling better. I think they will both have their place and time.

Here is the tutorial I used to make this sling.

If you want more information on baby wearing, Baby Wearing International is a great starting place. It has a great safety page and gives you a general description of the different kinds of cloth carriers.

Saturday, August 27, 2011

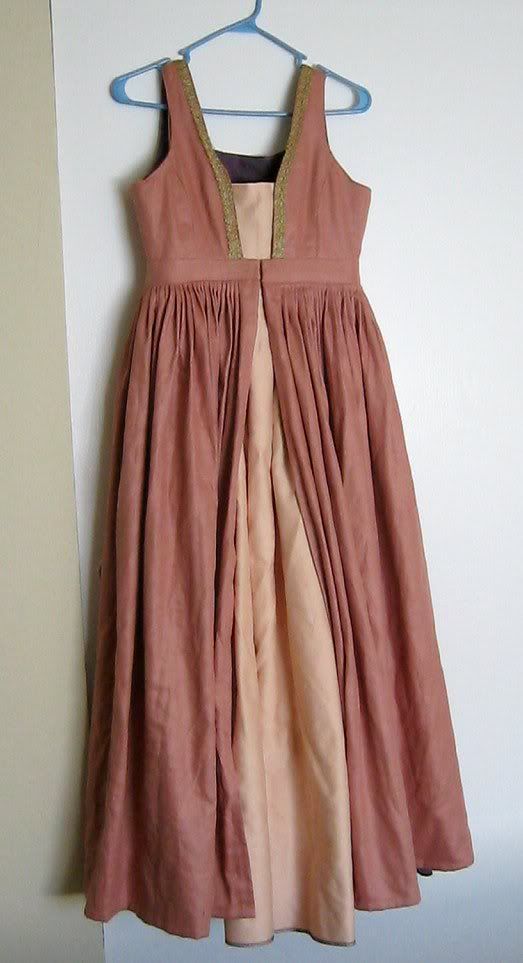
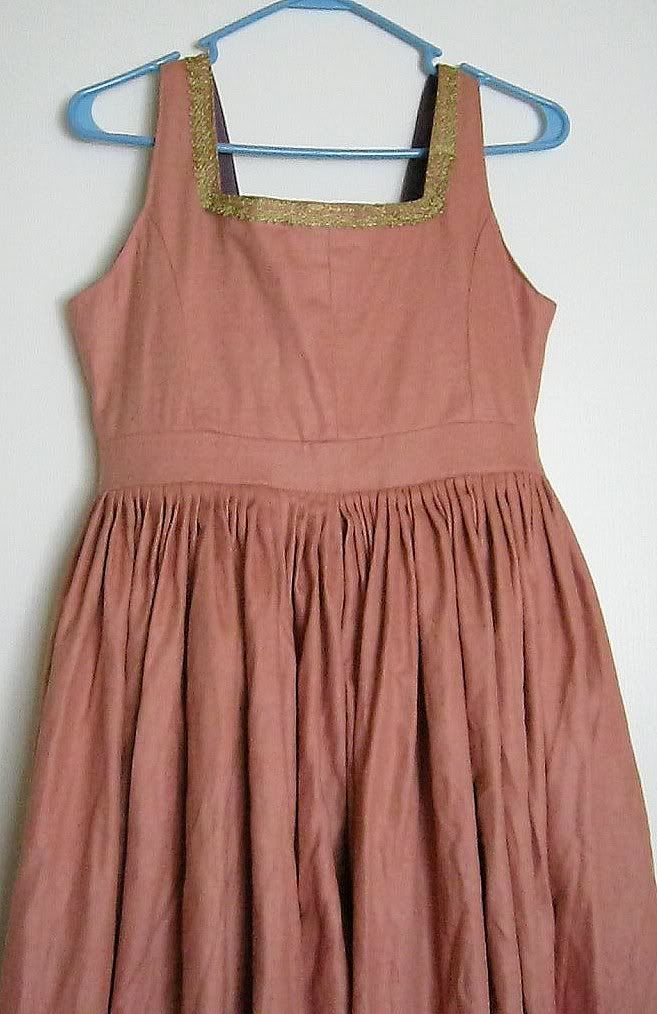
Maternity Renaissance Dress


This dress is coming along so nicely, but I've got so much I need to do still! The chemise, detachable sleeves and all the trims and adornments that will really make this dress amazing! I was planning on having it wearable come next weekend for a renaissance faire but there was major communication breakdown between the former entertainment directer and the brand new one and the royalty group I travel with got the raw end of the deal and aren't playing the royalty! So this dress is getting put on the back burners for a second time! *sad face* But not all hope is lost for this dress. I for sure get to wear it the end of October! But now I'm going to be at a different faire selling CD's for my awesomely talented husband and the Scoundrels he sings with (I guess they are pretty good to... ok they're awesomely talented to!). So I have to get to work on the maternity stuff for that.

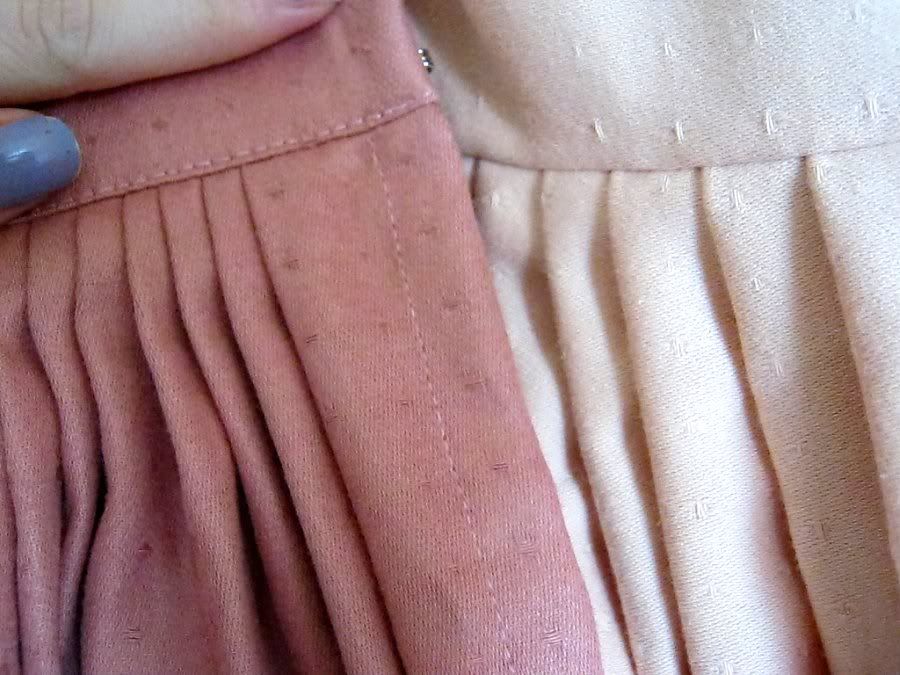
Here's a close up of those pleats. A lot of work, but they look amazing! And don't you love the pink on pink? I just love it! And I'm nearly positive it's 100% cotton fabric and I got for only $2 a yard! You can't get much better than that!


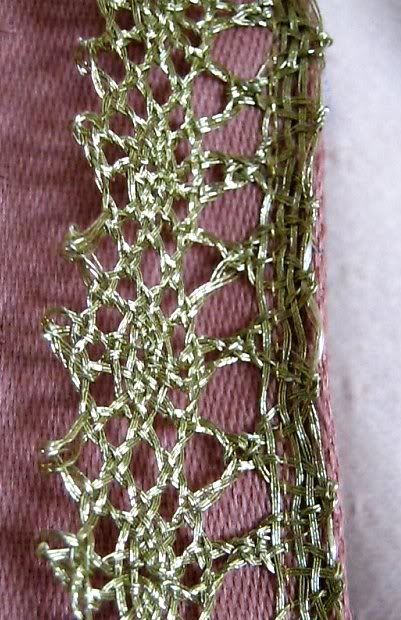
And the trim! Leftovers from another dress I made! Just the perfect amount to, I only have 2" left


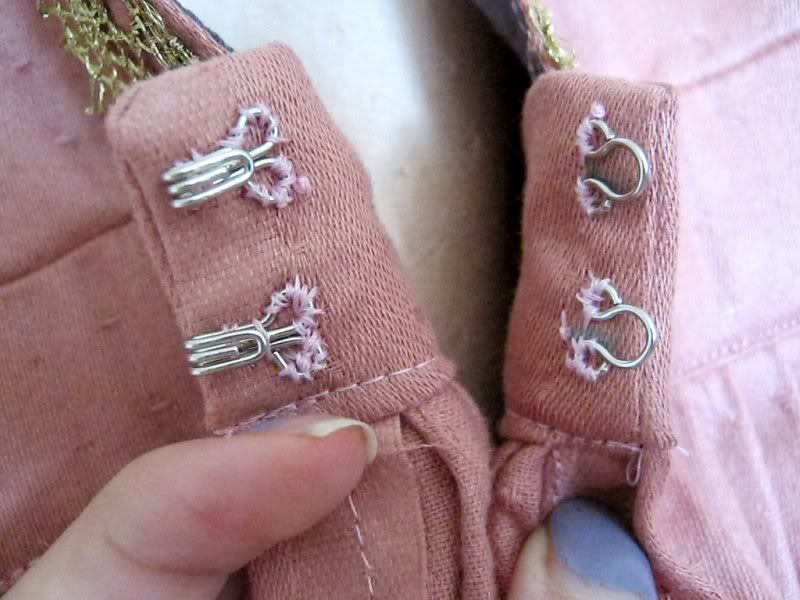
And the beefy hook and eyes for front closer. I'm going to put a frog on as well but I know I'm going to need more than one poor little frog trying to keep all that dress together in the front. Just hope these do the trick!

Note to self: Time to repaint fingernails!


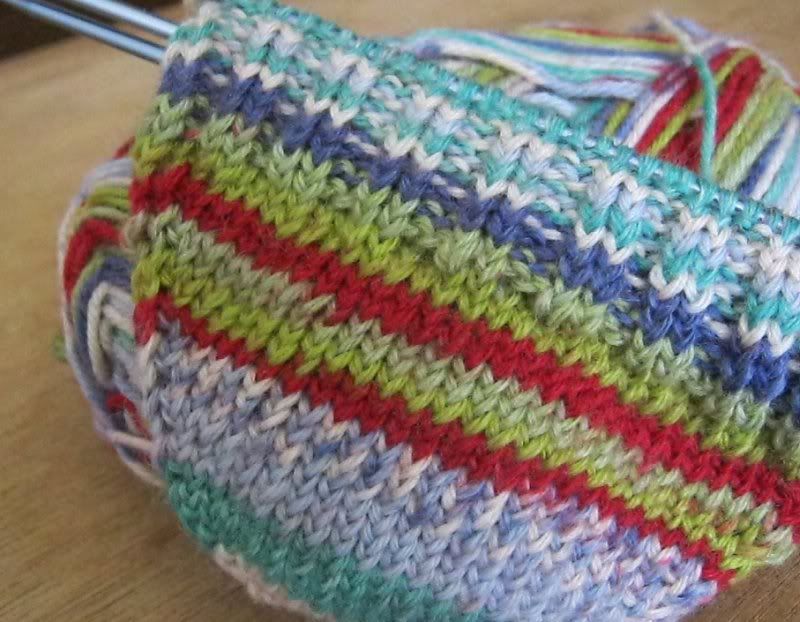
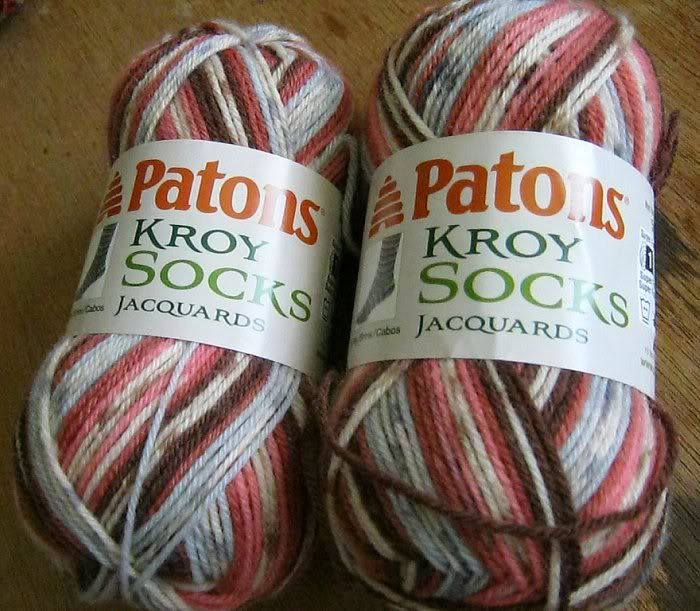
And what else have I been working on? Christmas gift making! What am I working on now? One of the only things you can make fuddy duddy penny pinching dutch grandparents that only like useful things and don't need anything for around the house since they keep everything until it falls apart. (I say that will all the love in my heart! It's just who they are. I wouldn't change them for the world!) Socks!


As you can see I've just gotten started on Grandpa's. But don't you love the colors! I have a feeling I'm going to have troubles letting go of the pair for grandma! Such pretty colors! And grandma and grandpa would be so proud, I got the yarn on clearance!