1.Gather Supplies:
- 1/2 yard of fabric or 2 fat quarters would work as well.
- 4 feet of wide rick rack
- 13 inches of 3" wide lace
- About 4 feet of ribbon or double fold binding, width of your choice. I used 1/2 inch.
- Optional: 1/2 inch wide elastic. 1-3 feet.

2. Lay out open binder on fabric. Cut around binder with just enough for a seam. This is the outer piece.
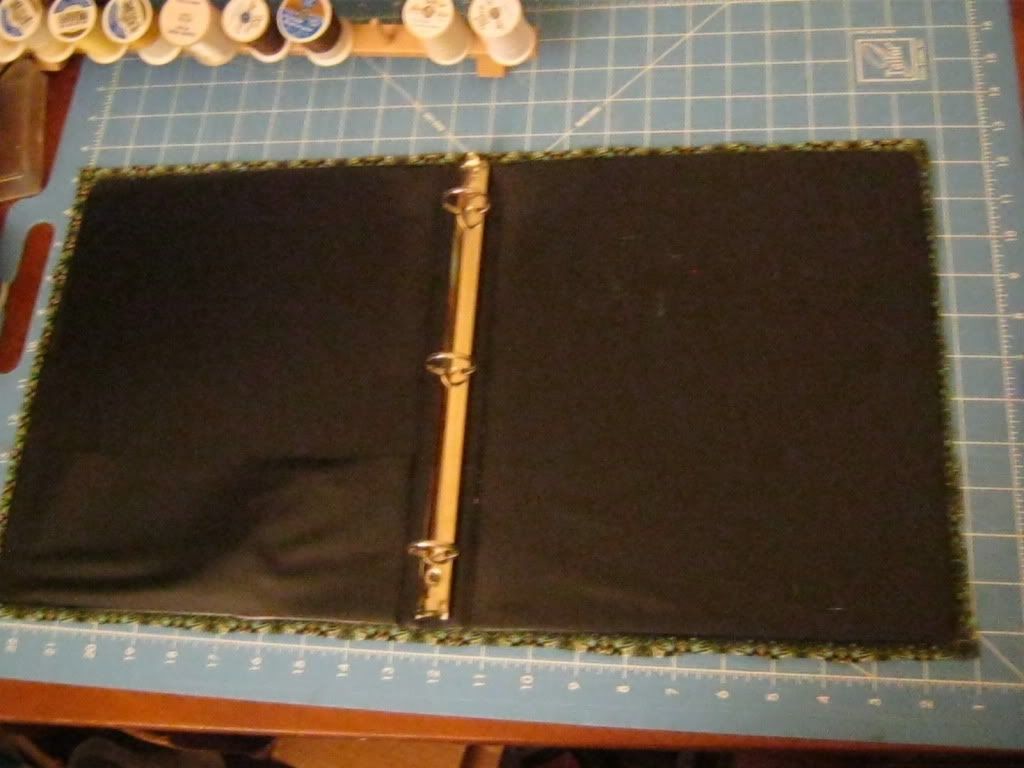
3. Lay out closed binder on fabric. Cut 2 with enough for a seam. These are the inner pieces.
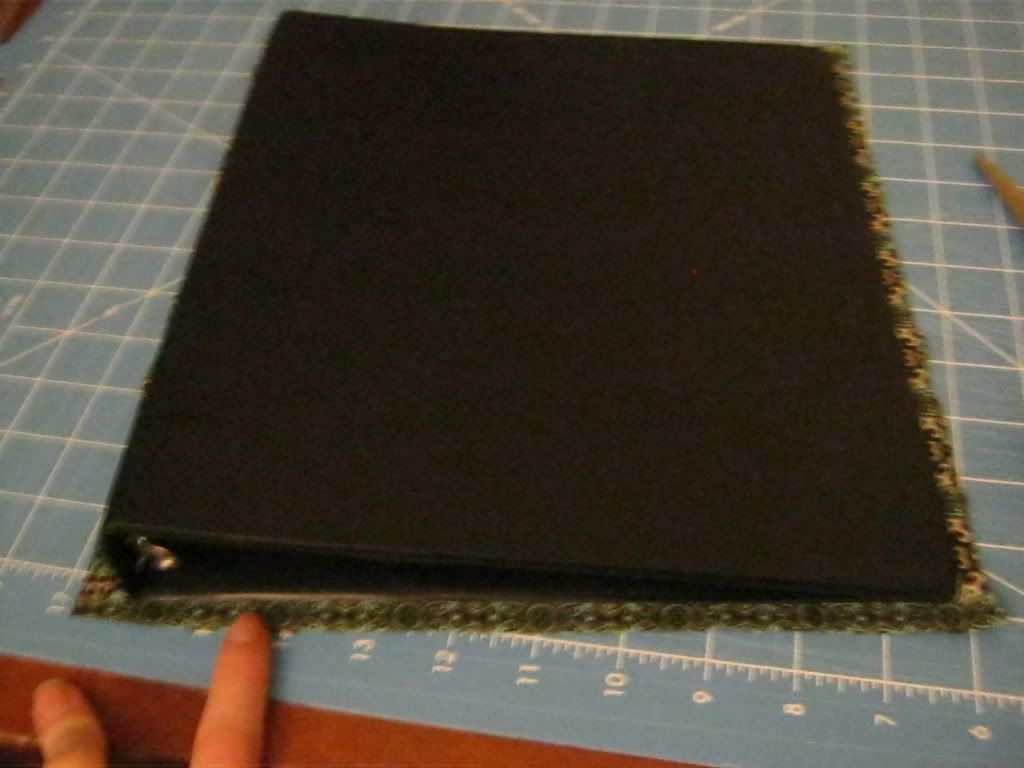
4. Take the inner pieces. Hem the edges that will lay right along the rings. I just serged mine.

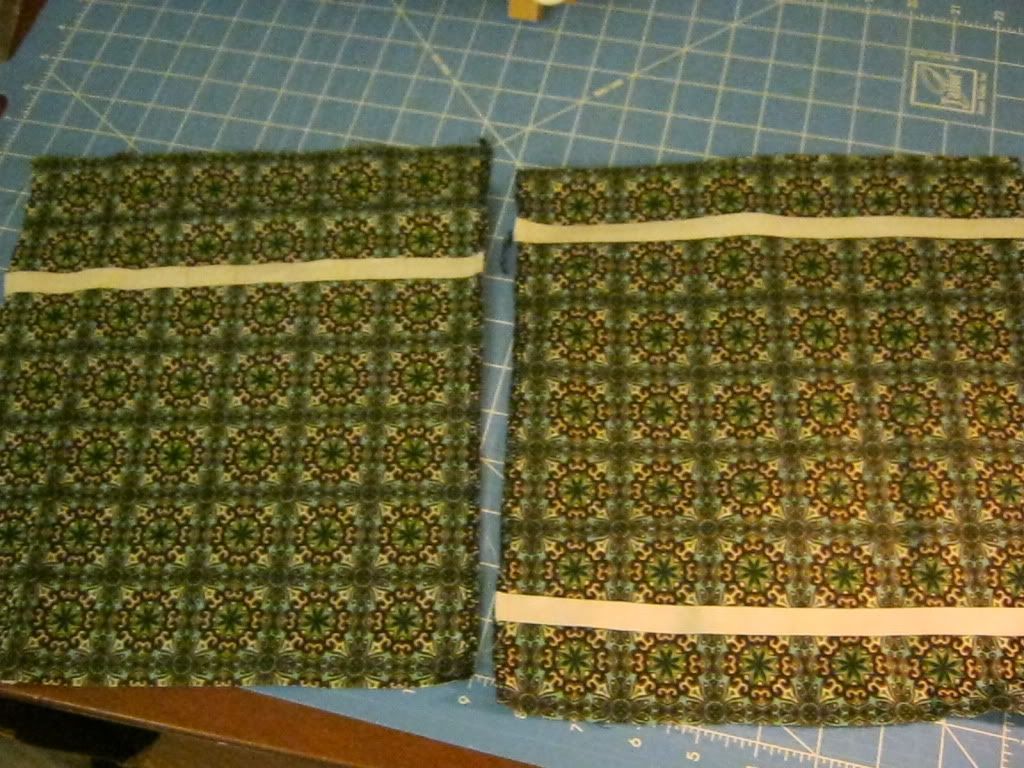
5. If you want a pen or a notepad holder take your elastic and place and sew down your elastic on your inner pieces.
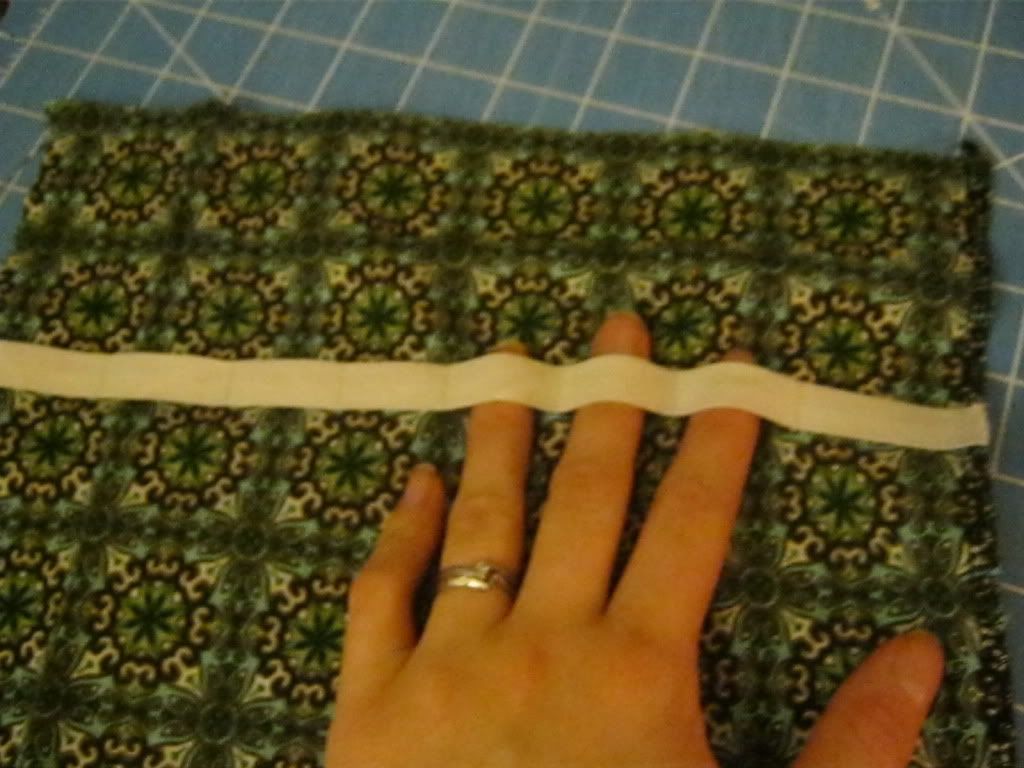 |
| For pens |
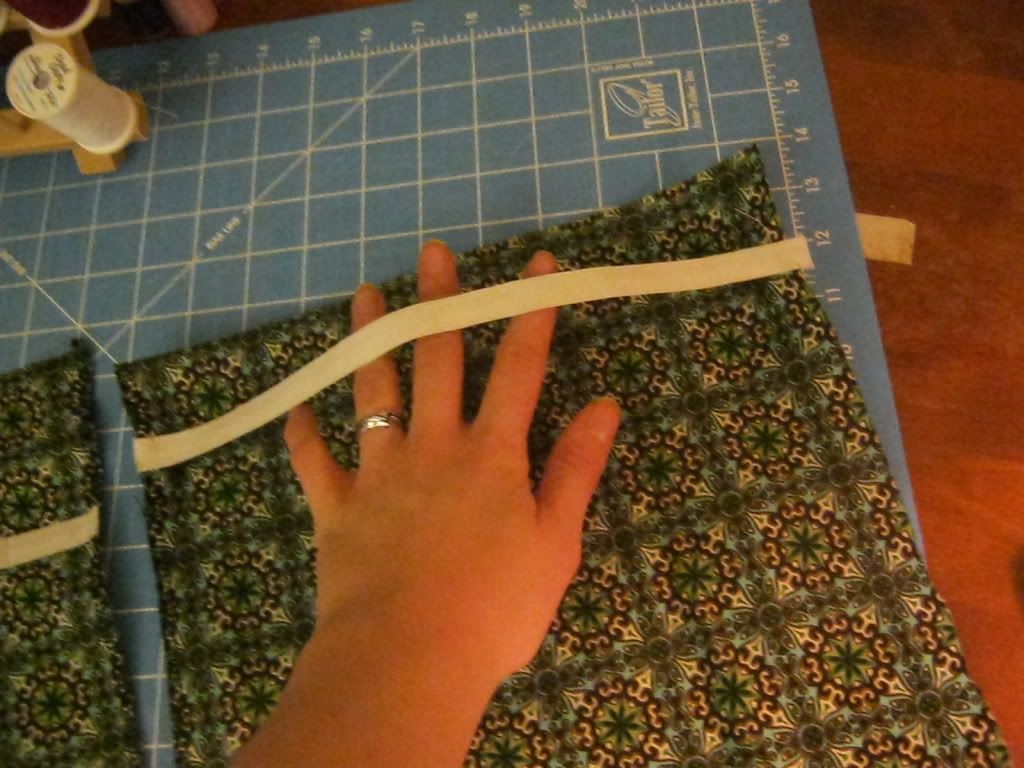 |
| For a notepad. I used 2 pieces to help keep it in place |
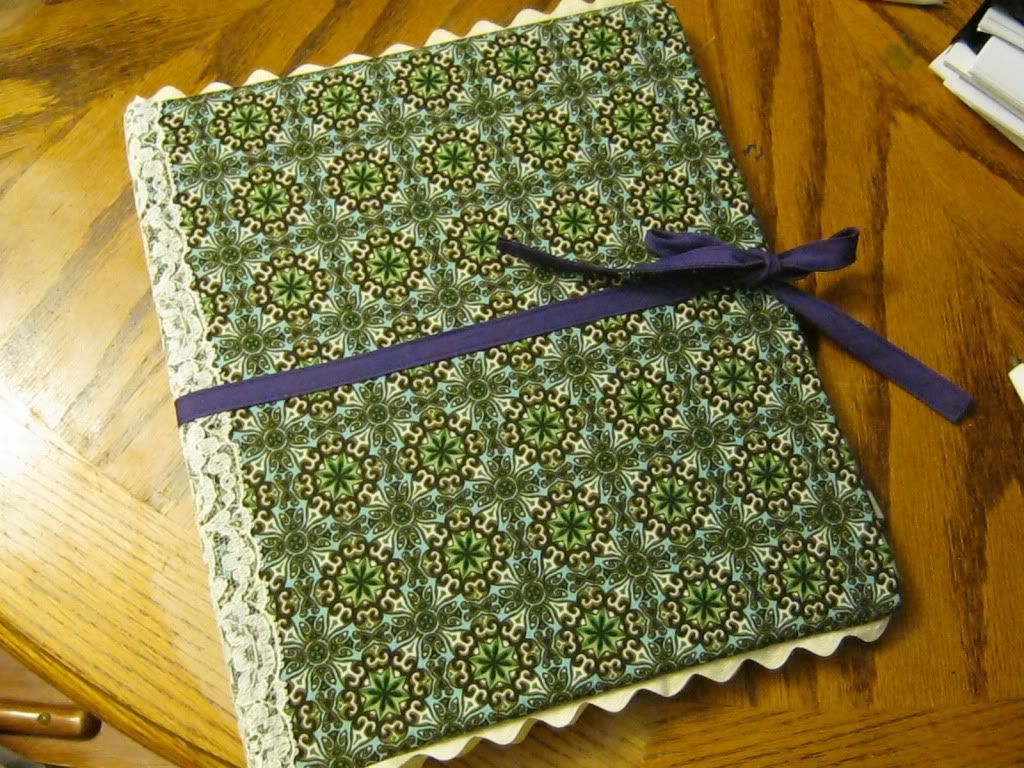
6. Take your outer piece, center and sew down the lace.
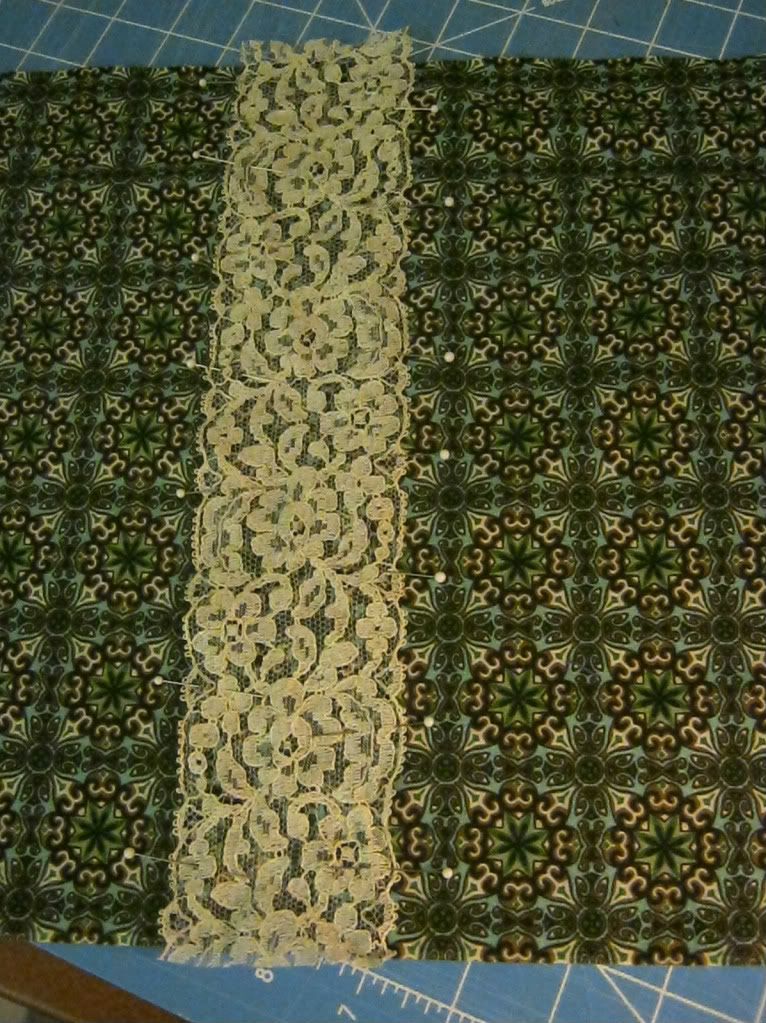

7. Pin and sew down the rick rack to the upper and lower edges of your outer piece. Sew straight down the center. This will help later on.
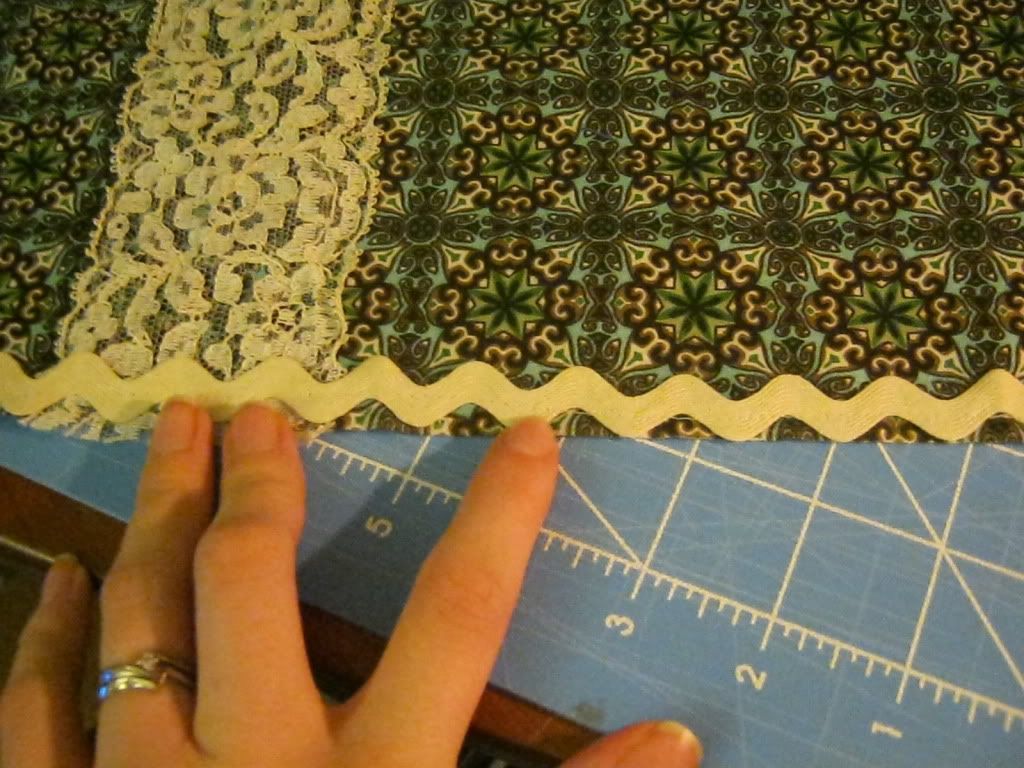
8. Sew your outer piece to your inner pieces just along the side edges.
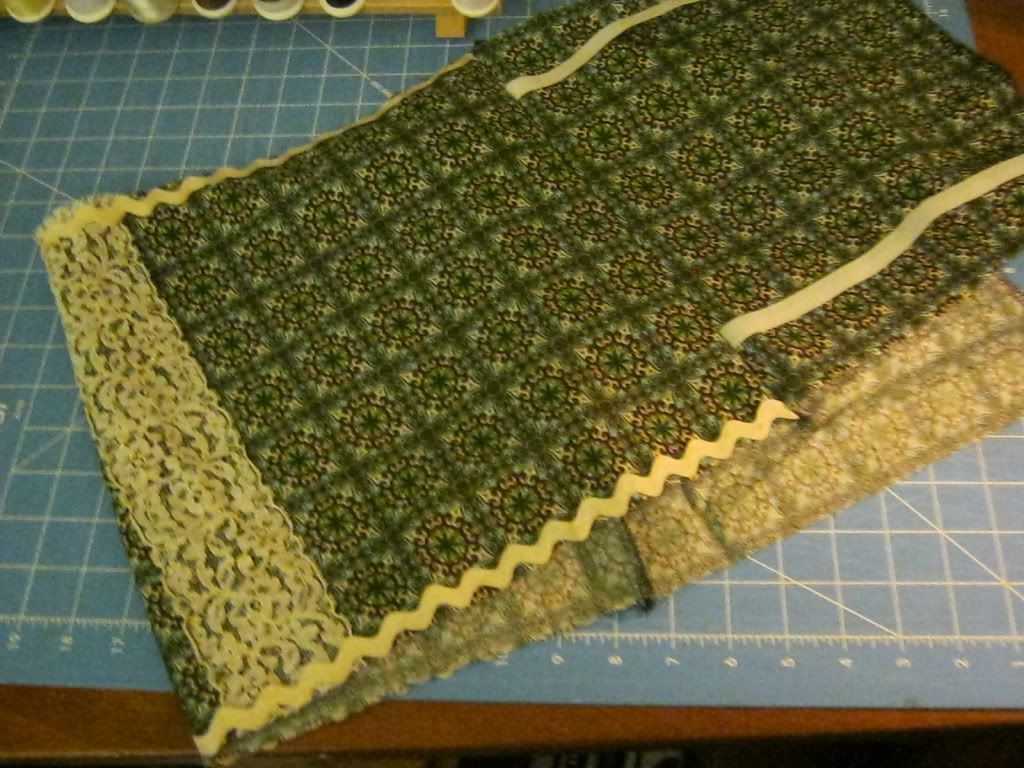
9. Take binding and cut off as much as you want for a tie. I used 43 inches. Center and mark off where you want it to attach. Now sew along the edges of just the part that will be used as the tie. And then pin and sew it to your cover. Mine is centered but I think it could look really good off centered as well.


10. Now it's time to sew the top and bottom seams. Making sure you are centered on your rick rack. Easiest way is to do so is to follow the stitching that you did to attach the rick rack.

11. Turn the cover right side out and fold it in half with the inside facing out. Now fold you binder inside out and slide your cover on.


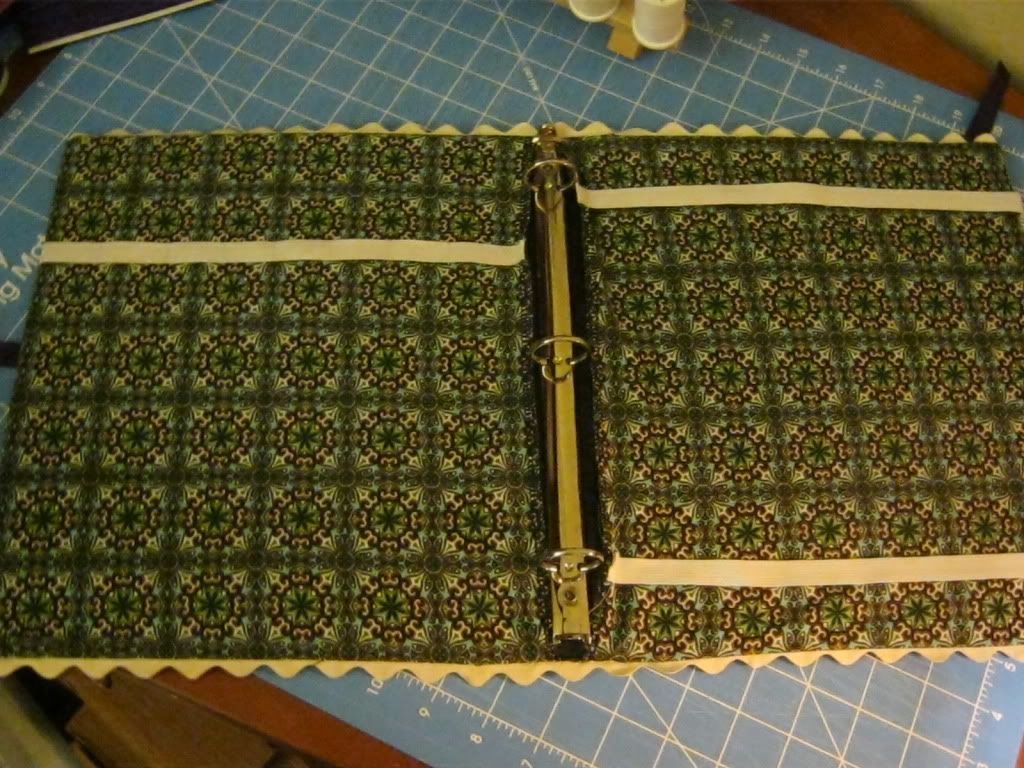
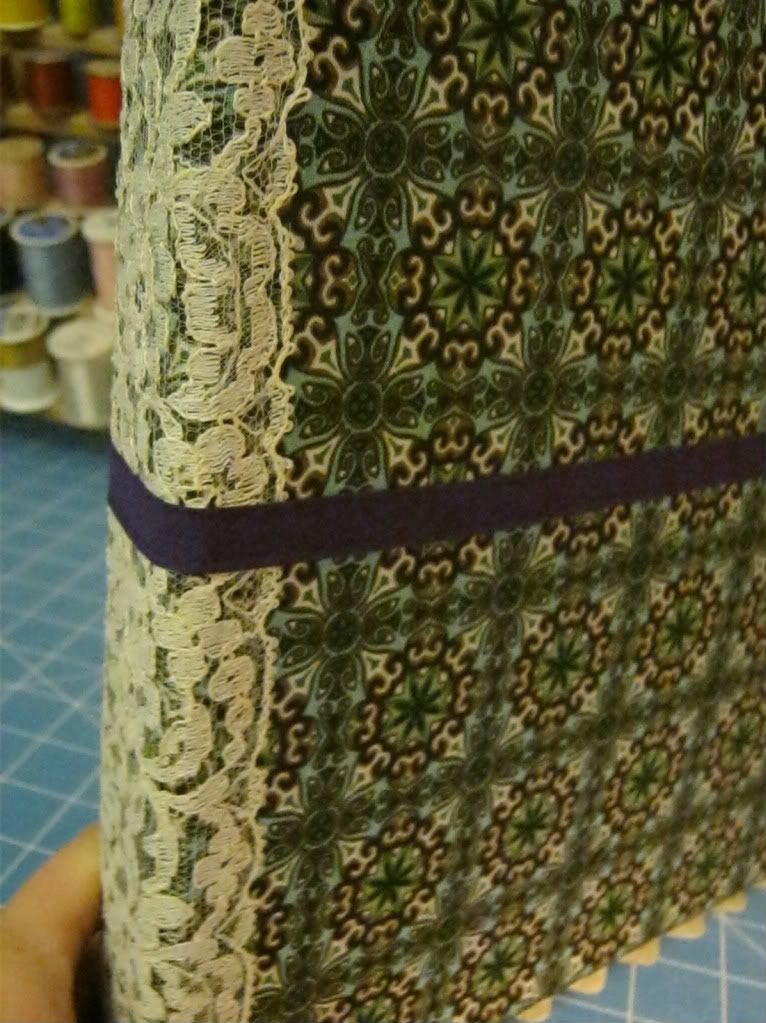
12. Now load up your binder and enjoy!
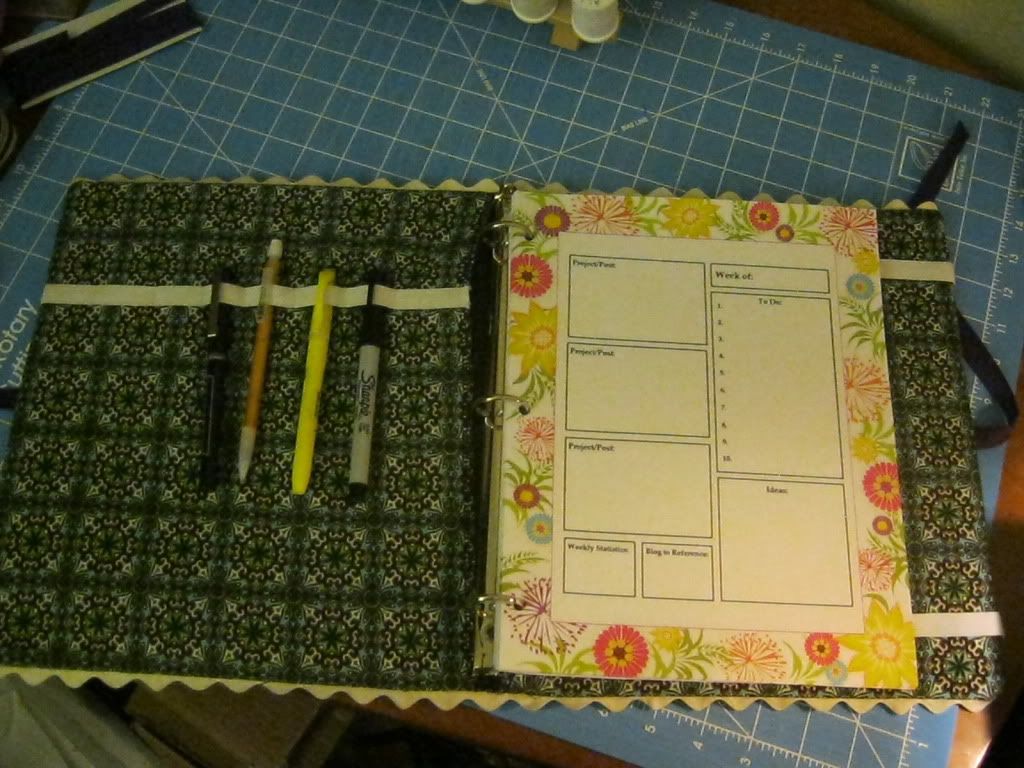 |
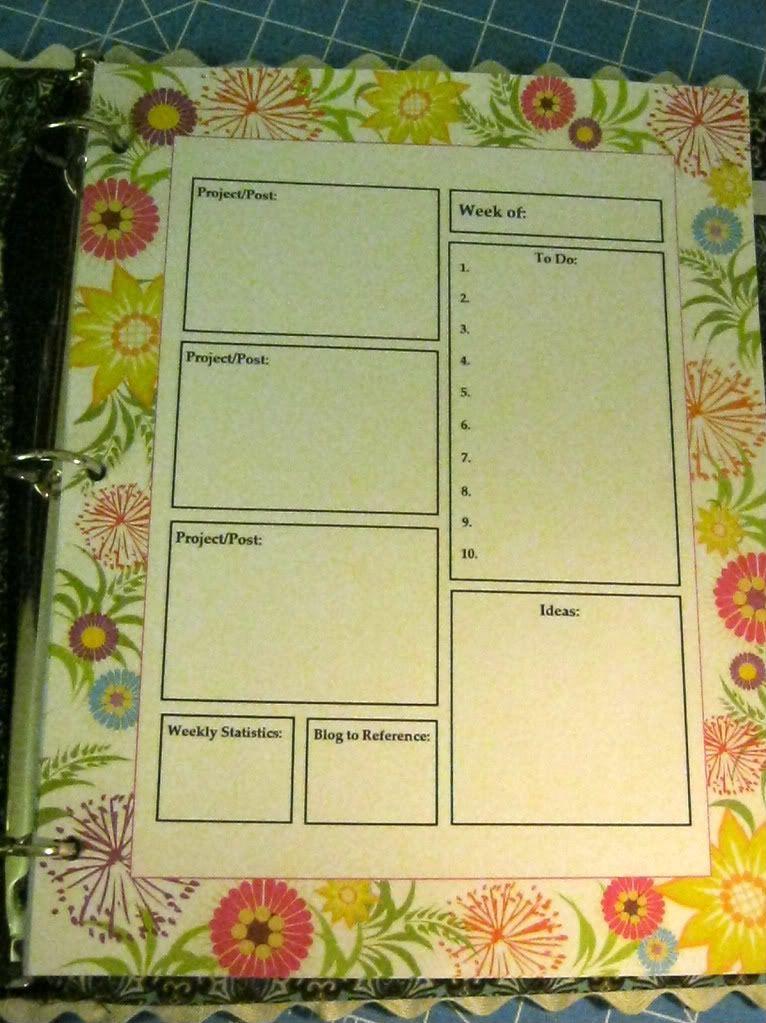
| Doesn't that planner just look perfect in this! |
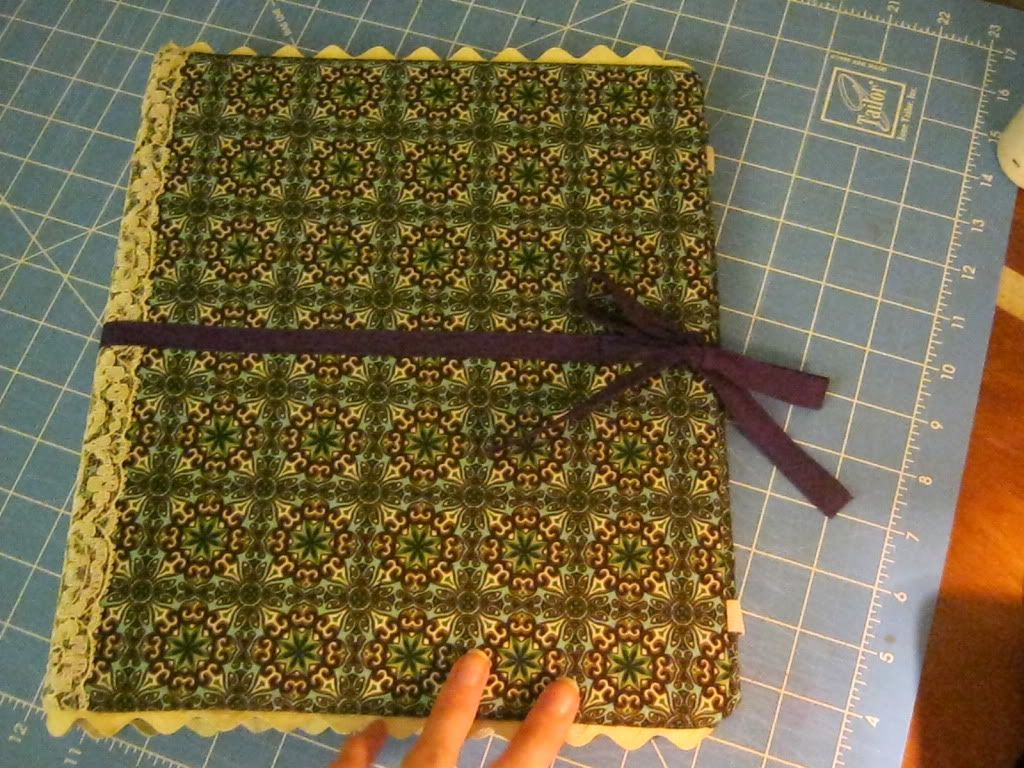
Hope you like it. If you have any questions please ask.